Skip to primary navigation
Skip to main content
Skip to primary sidebar
Home
Recipes
Recipe Index
Category
Swedish
Cakes
Travel & workshops
Cupcakes & muffins
Pies, tarts, crumbles
Buns & bread
Christmas
How To’s
How to fill and cover a cake with frosting
How to pipe a rose cupcake
How to make a lattice pie crust
Season
Winter
Spring
Summer
Autumn
Ingredients I use
About
About Linda
FAQ
My books
Privacy Policy
Photography presets
Contact
Search
Call Me Cupcake
Sweet food & photography
Summer
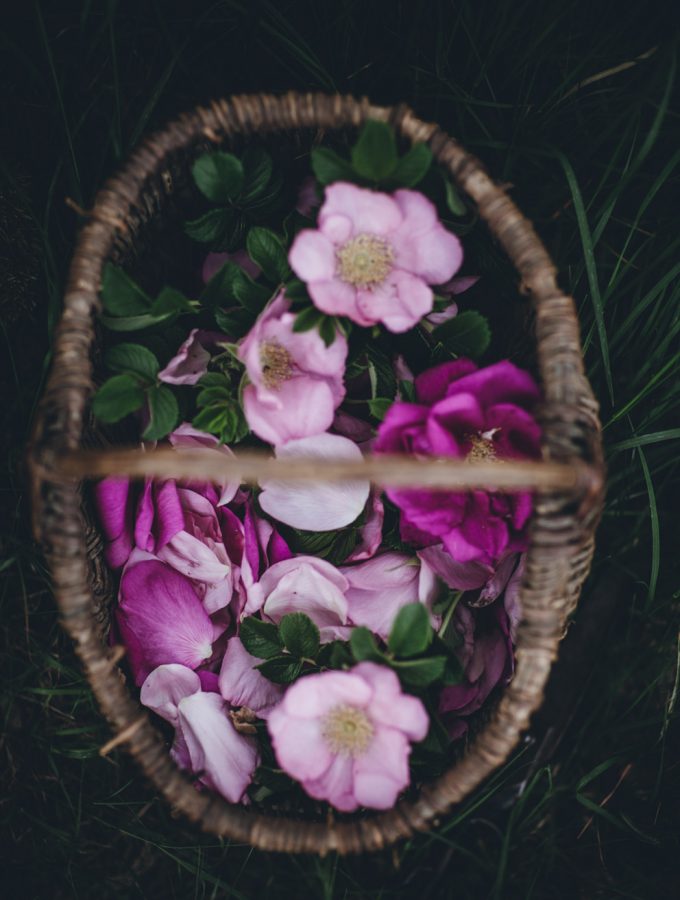
Rose petal sugar
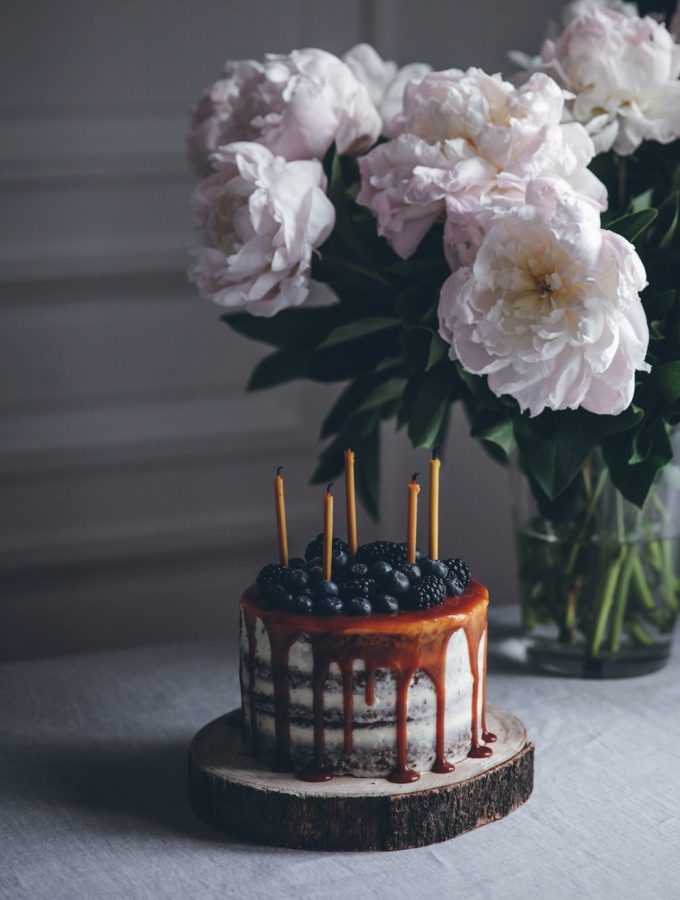
Carrot cake with lime cream cheese frosting & salted caramel sauce
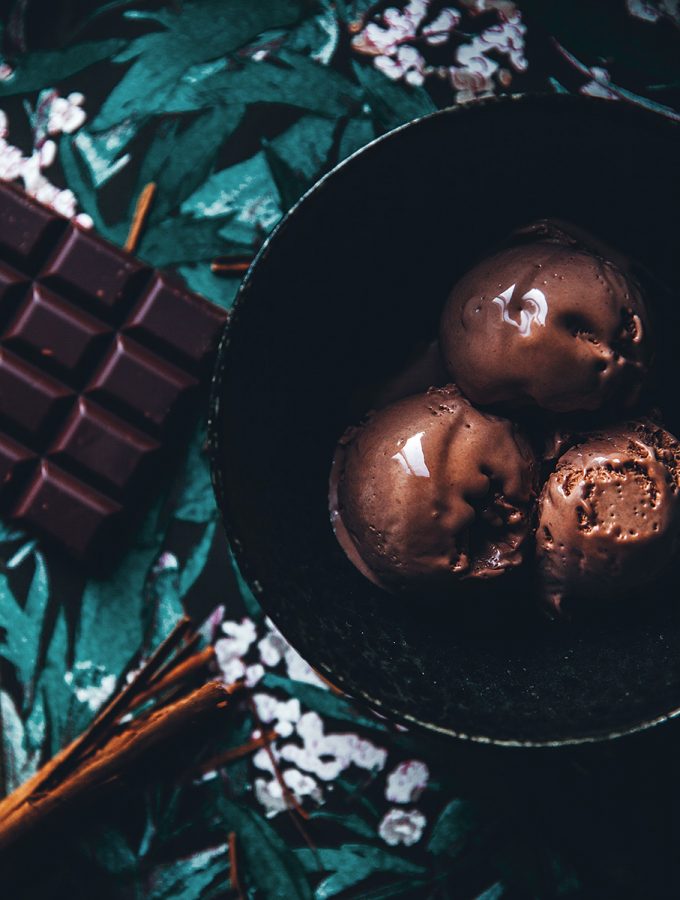
Cinnamon chocolate ice cream with warm cherries
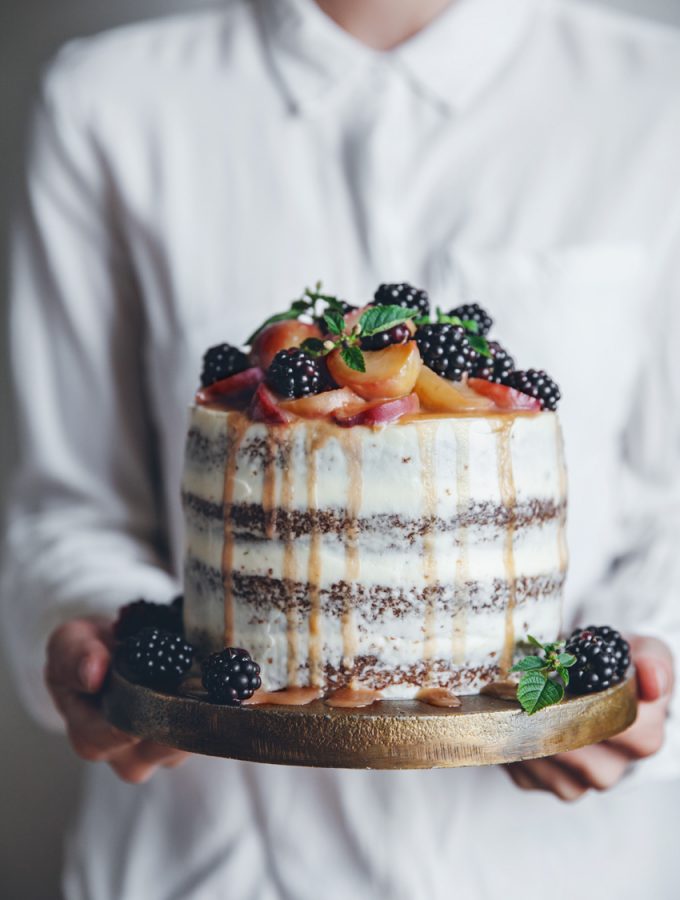
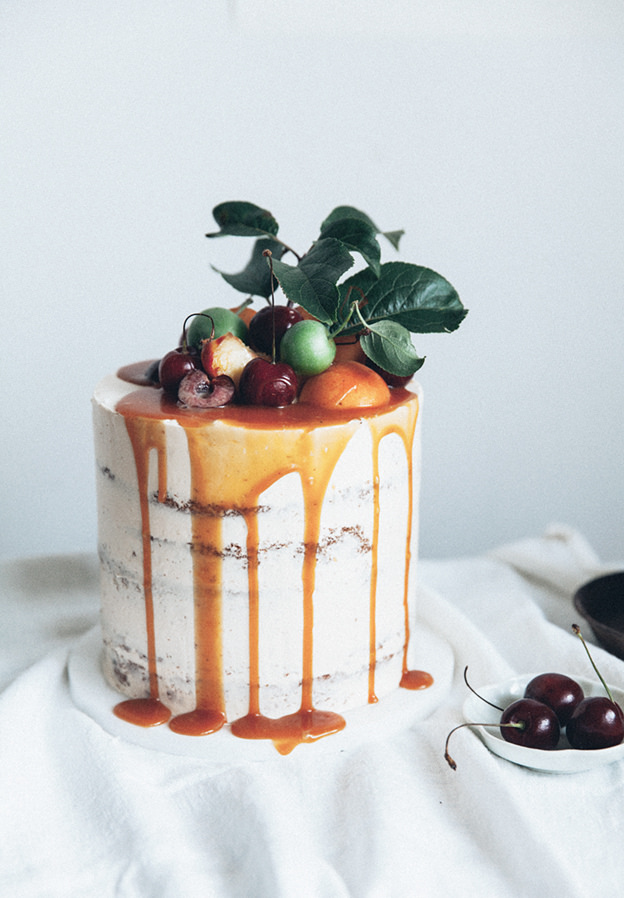
A peach carrot cake with cream cheese frosting + A Saveur blog awards finalist!
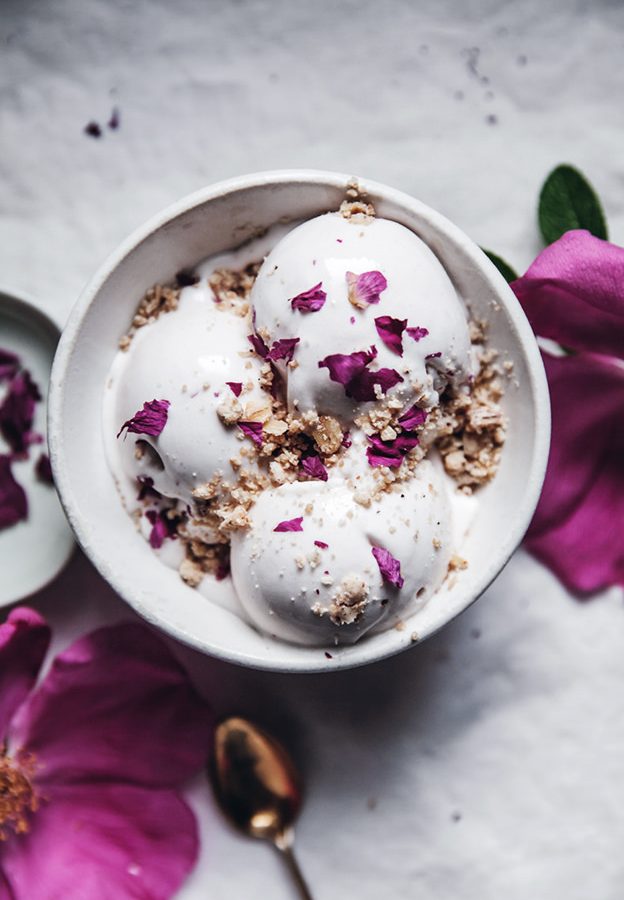
Vegan coconut + rose petal ice cream with cardamom crumble topping
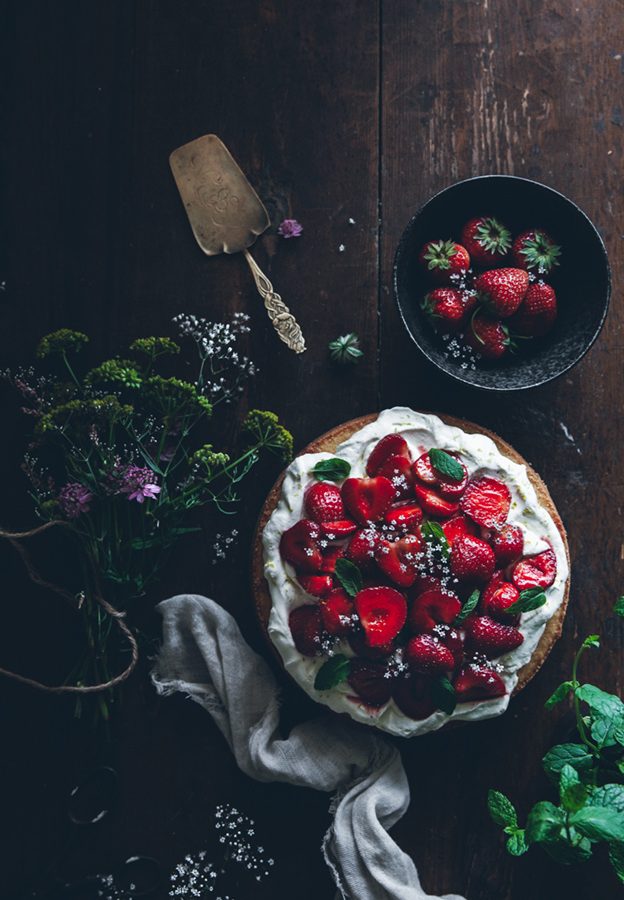
Fluffy sponge cake with balsamic strawberries
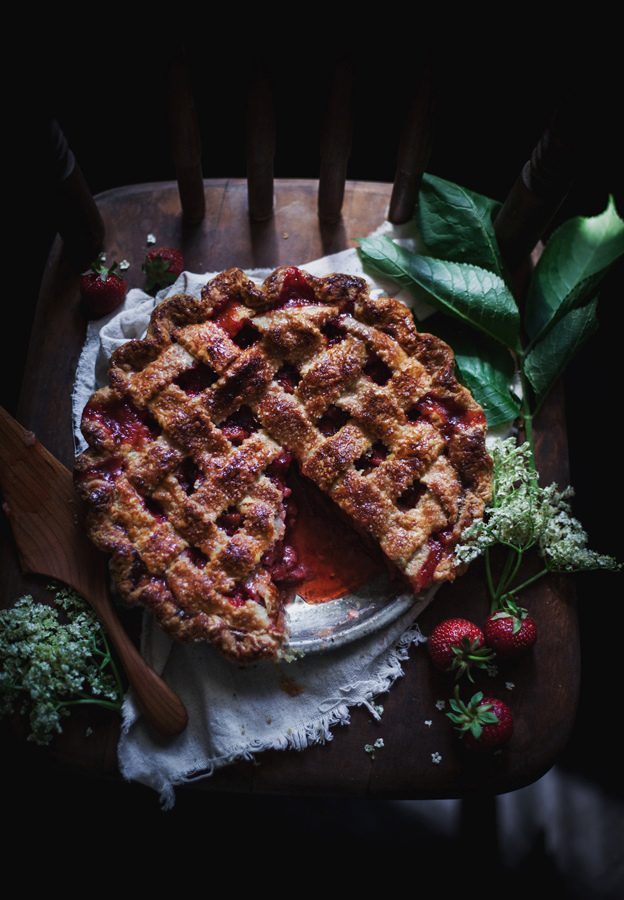
Strawberry rhubarb pie with elderflower
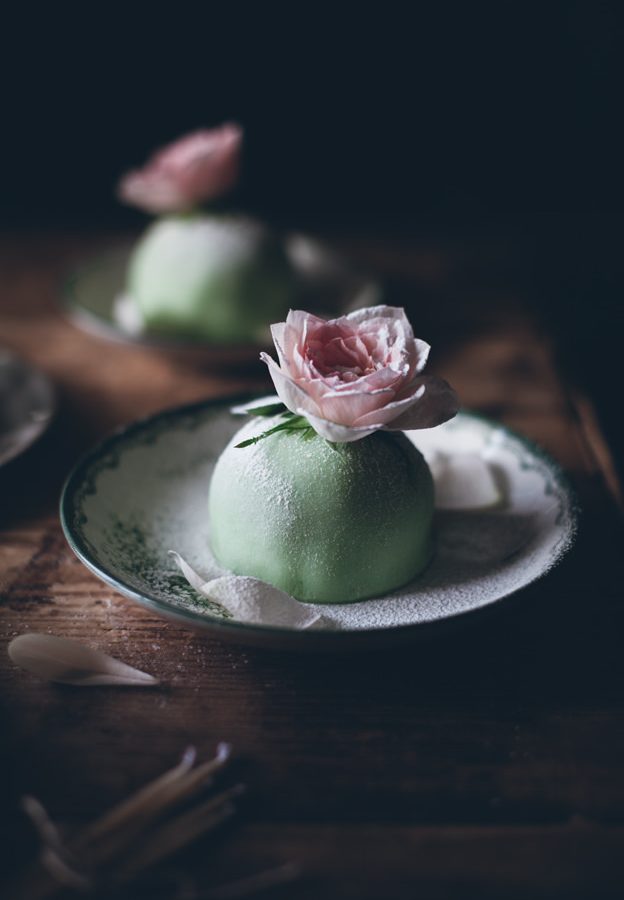
Mini princess cakes | Miniprinsesstårtor
Brown butter chocolate chip cake with bourbon caramel frosting
Strawberry buttermilk pancakes with elderflower and poached rhubarb
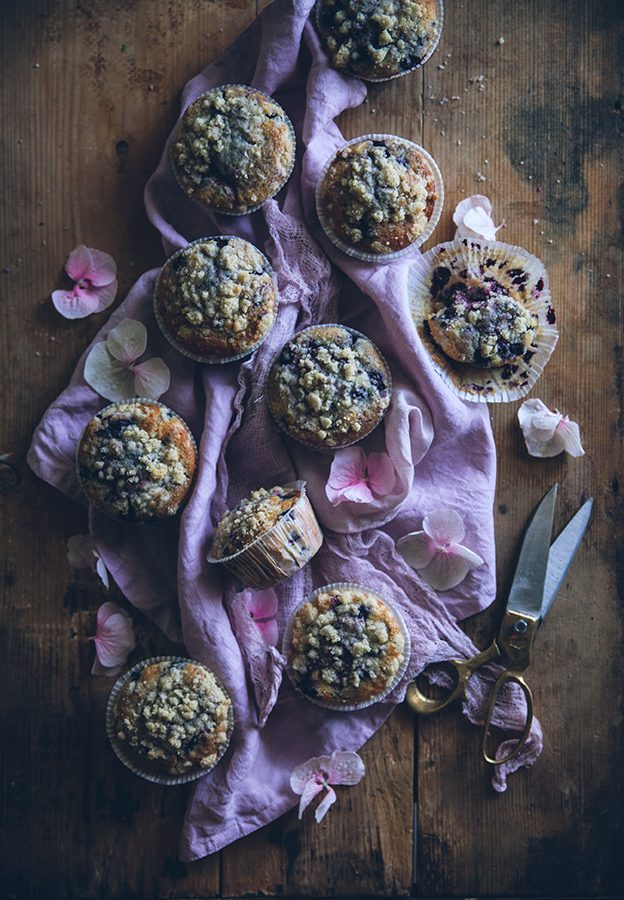
Blueberry lemon muffins with cardamom crumble topping
Vanilla bean cake
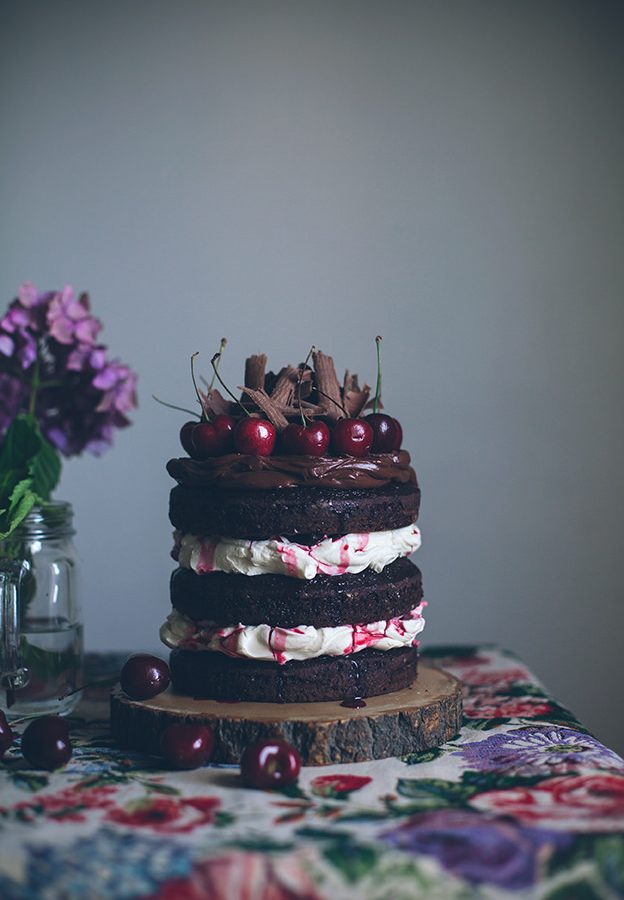
Black Forest gâteau
Strawberry peach popsicles with coconut milk
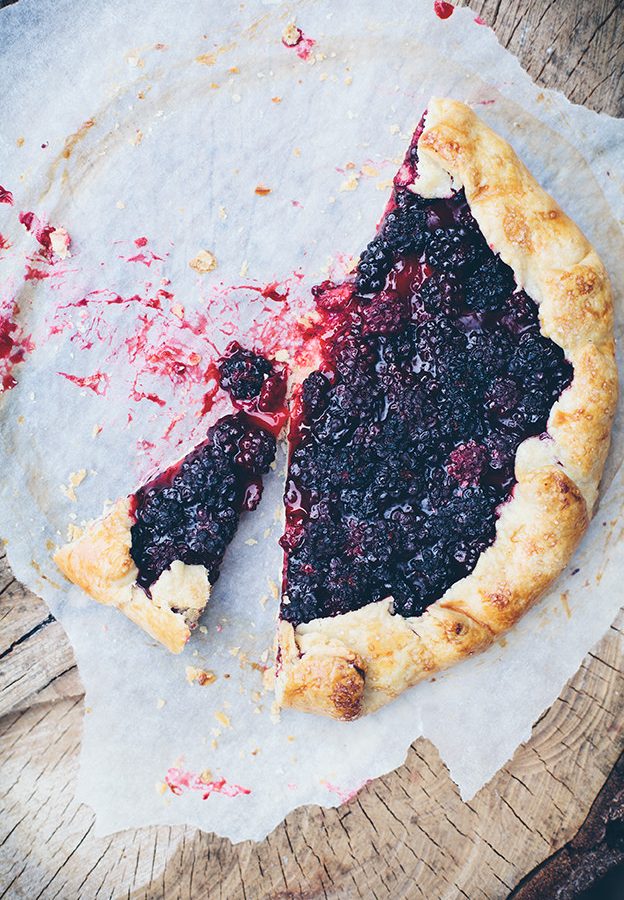
Blackberry galette
«
Go to
Previous Page
Go to page
1
Go to page
2
Go to page
3
Go to page
4
Go to
Next Page »
Privacy Policy