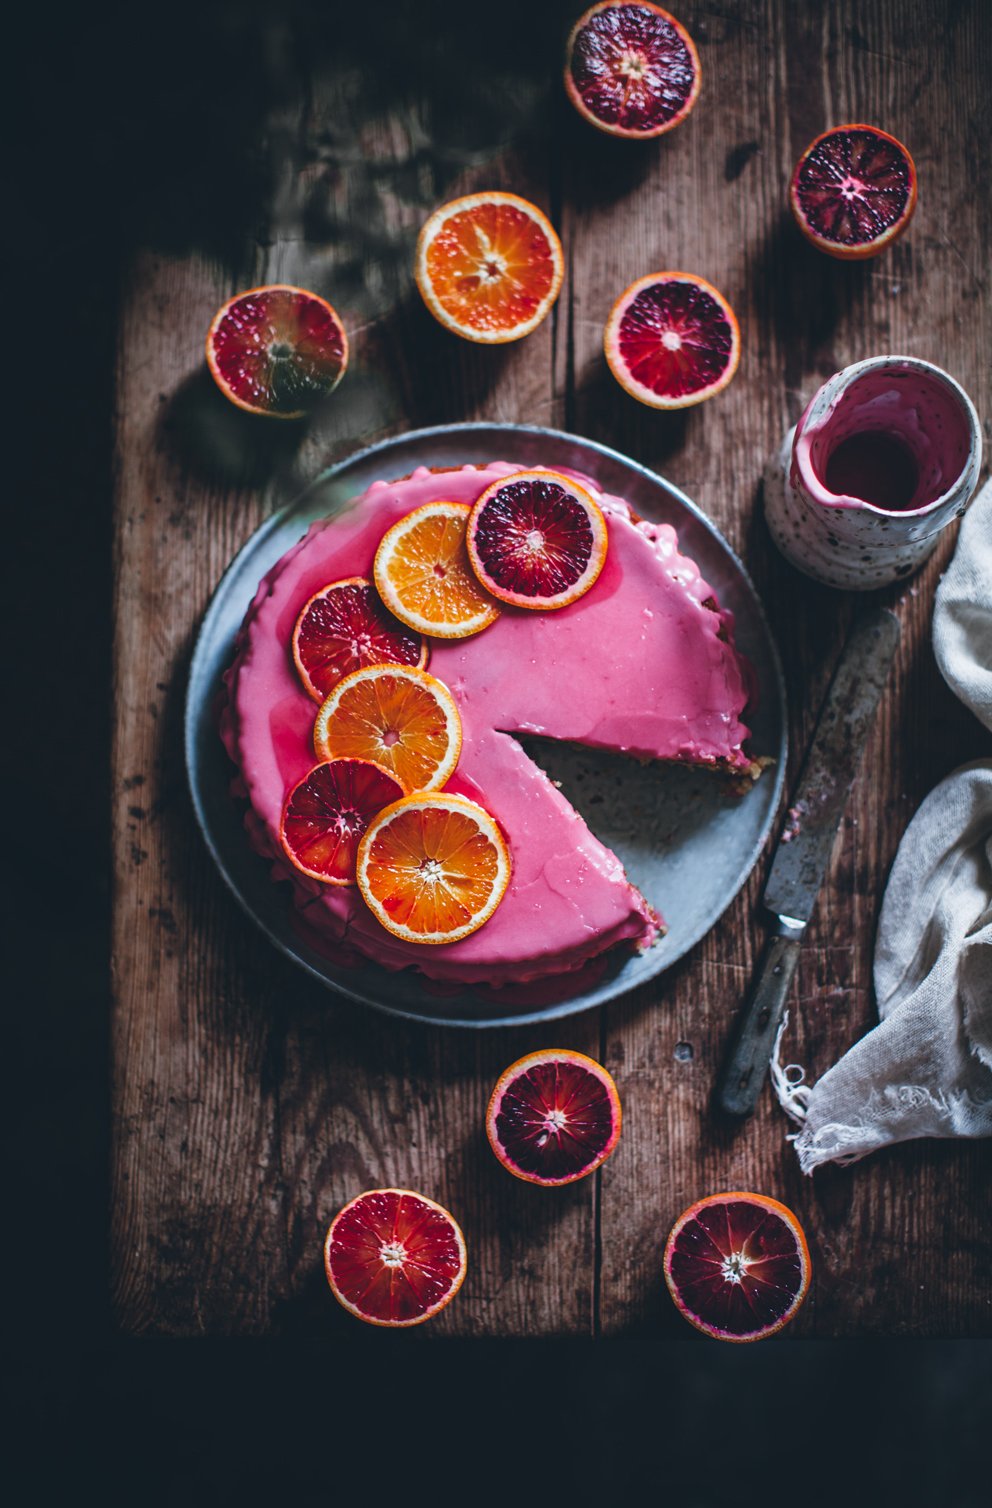
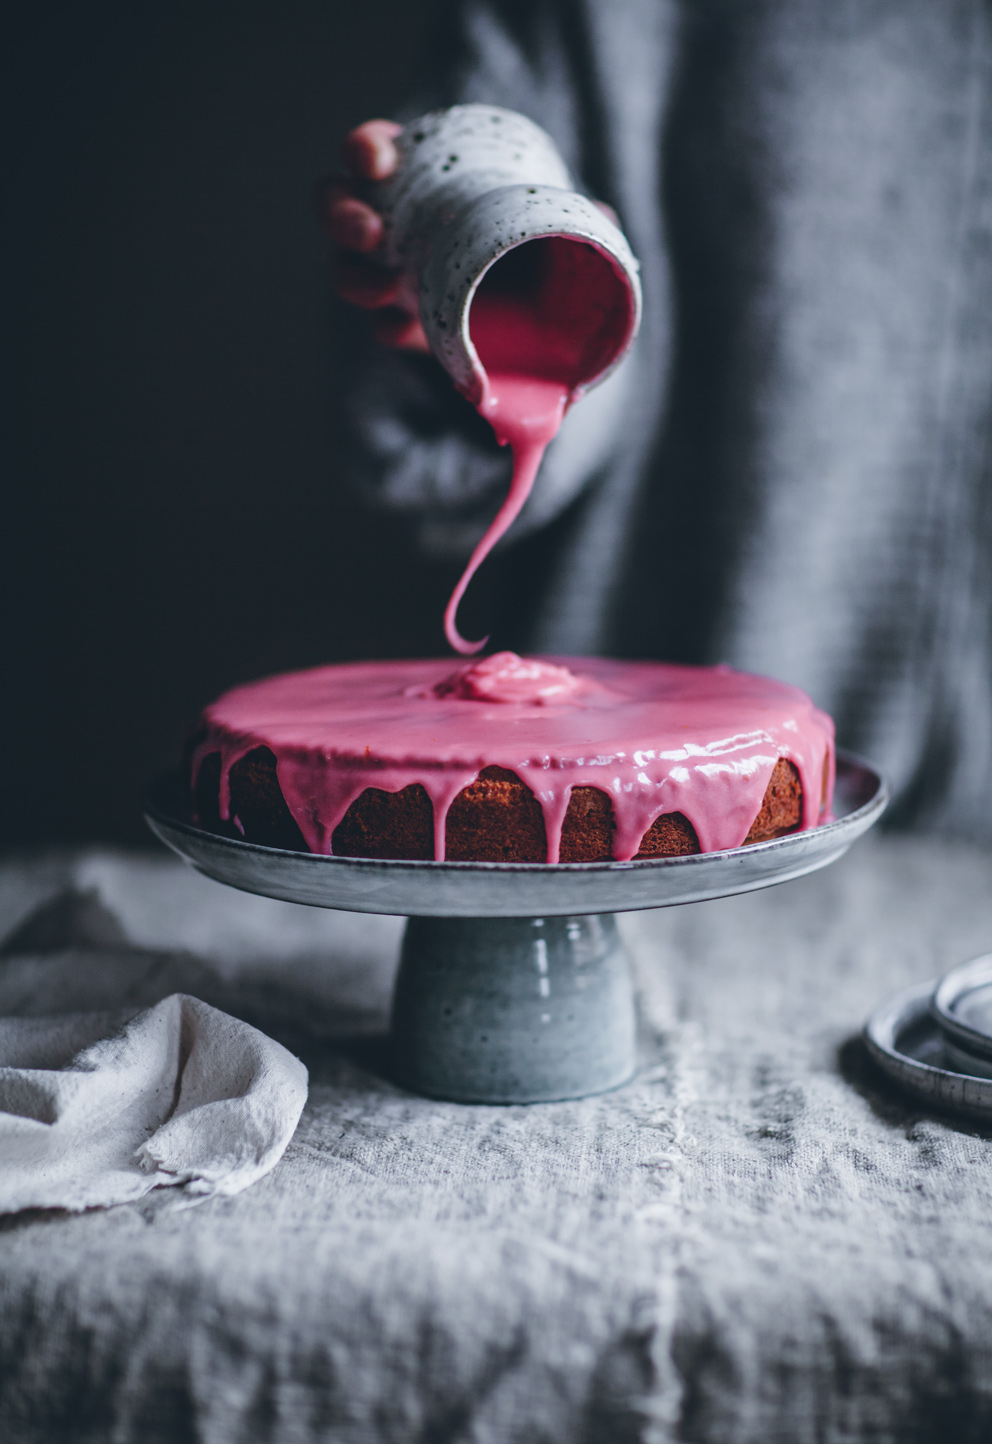
When I’m making recipes for the blog and my books, I have a habit of reshooting quite often. It makes everything take twice as long, but the outcome is usually a lot better!
In today’s Newsletter I’m sharing photos from the first and second shoot I did with this cake, why I didn’t like the outcome at first and why I decided to reshoot. You can sign up for my Newsletter HERE. (Update: For those of you who didn’t get the e-mail, you can find it HERE). Perhaps I should include more of these ‘before and afters’ in my newsletters in the future? Would you enjoy that? I want to show you more of the work that goes into creating these posts, behind the scenes, and that a lot of the things I make are not beautiful from the very first shot. It’s still a lot of trial and error!
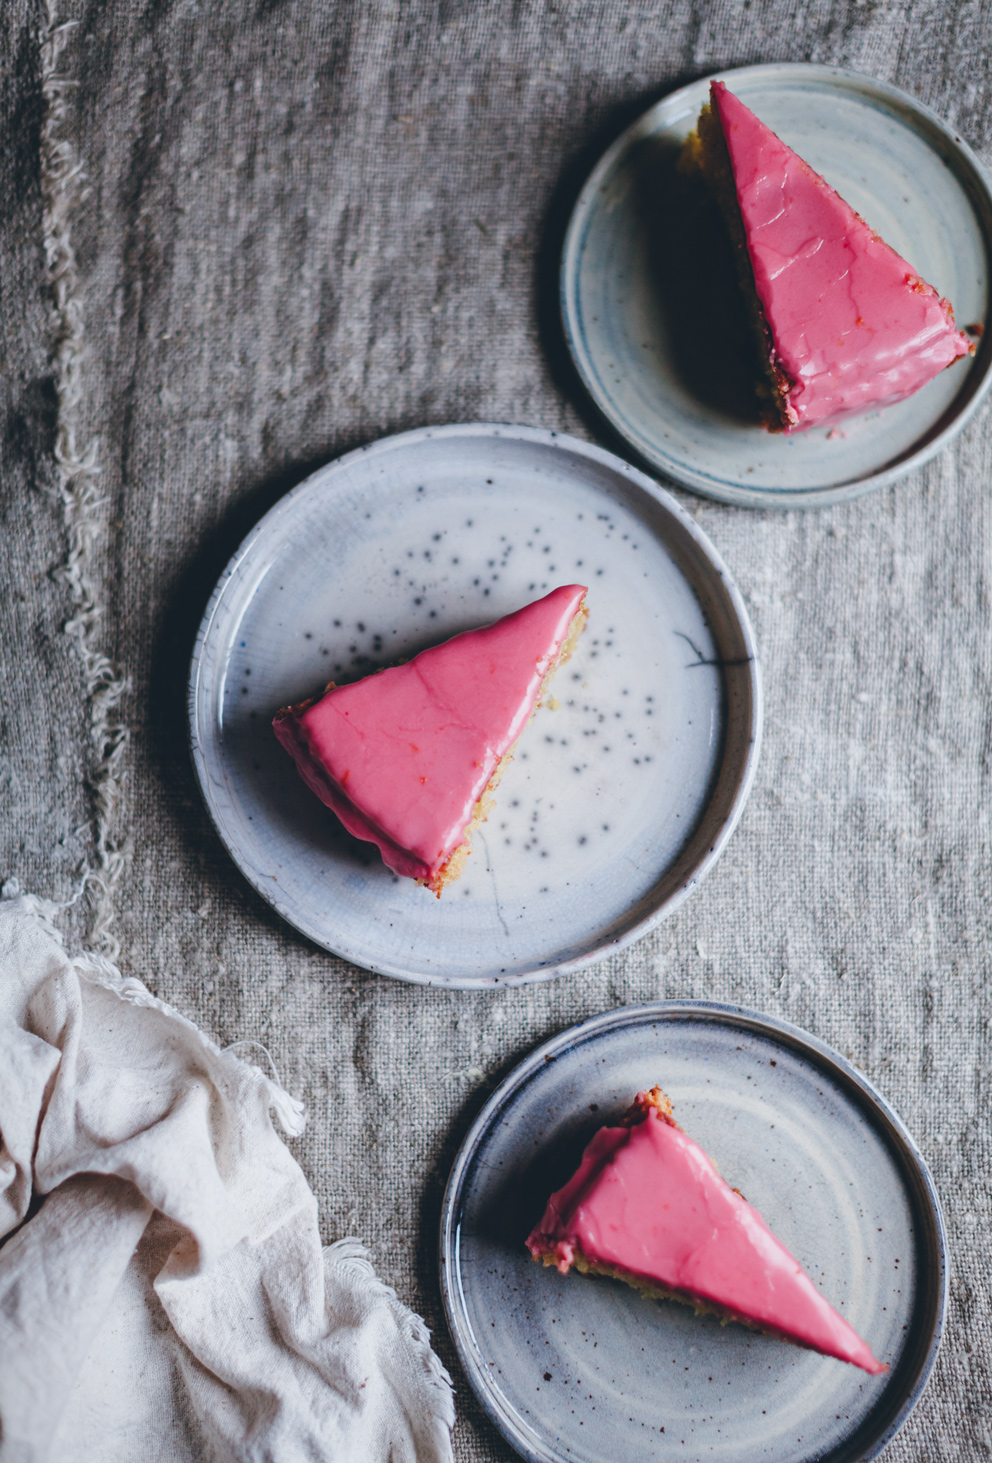
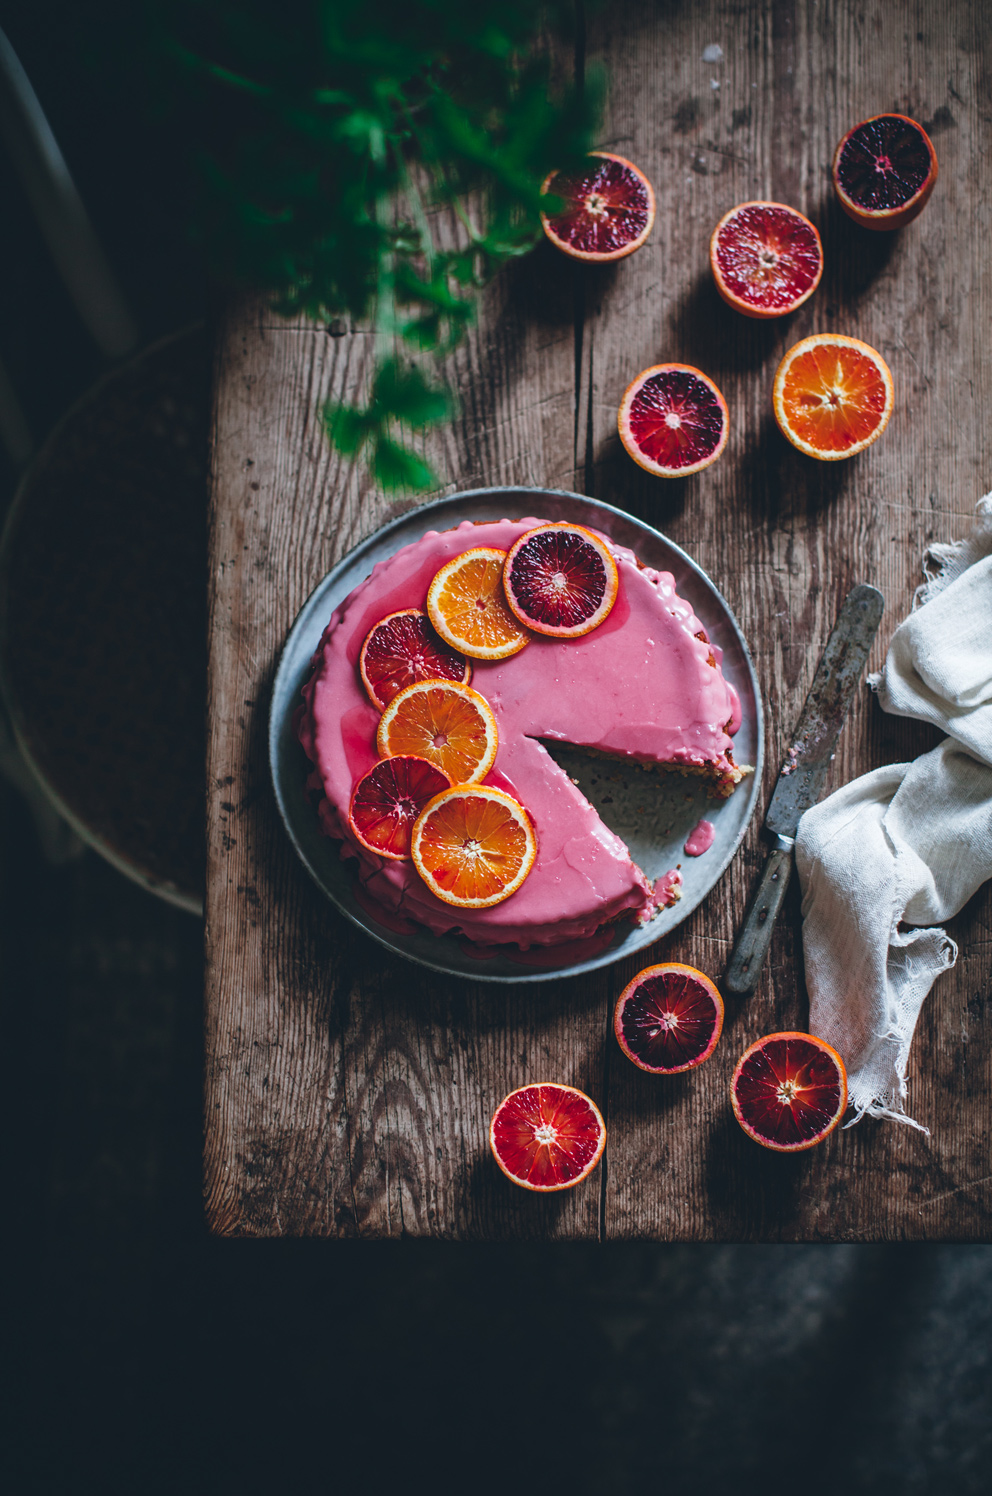
For this shoot, I envisioned lots of texture and a neutral greyish background with a blue tone which looks really great paired with a pink cake. I knew this cake had great potential, and I could see straight away during the first shoot that there was no point in continuing with this idea then and there, it simply didn’t do the idea justice and I knew I could do better.
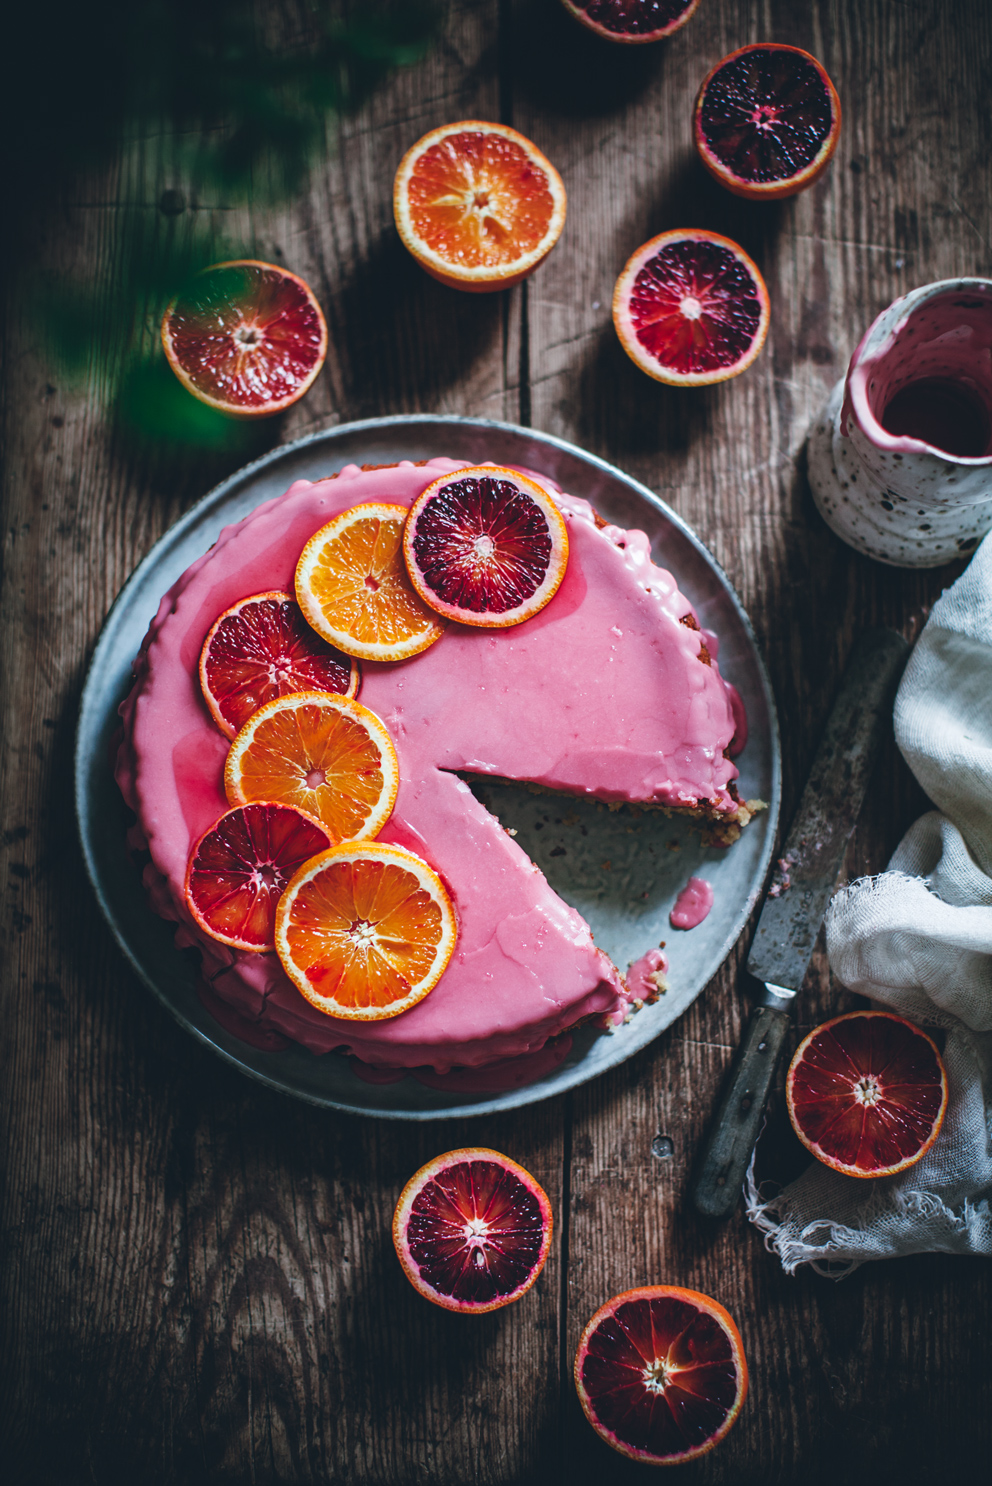
The light was so bad in my little studio during the first shoot (it was sunny and the light reflects of off the brick building across, ugh) and I was kind of tired and grumpy. I was however able to take some good pictures of the cake on the wooden table in my kitchen (you can see these at the bottom of this post), but it wasn’t what I had originally planned. So after making some changes to the recipe and test baking it I decided to give it another go, and it turned out exactly how I wanted it. This happens quite often, you just never see it on the blog 🙂 I’ll share these photos in the newsletter only, so make sure to sign up!
Anyway, this blood orange cardamom cake! I ate half of it in one day, I just couldn’t stop. Definitely something I’ll be making over and over again. I hope you like it too!
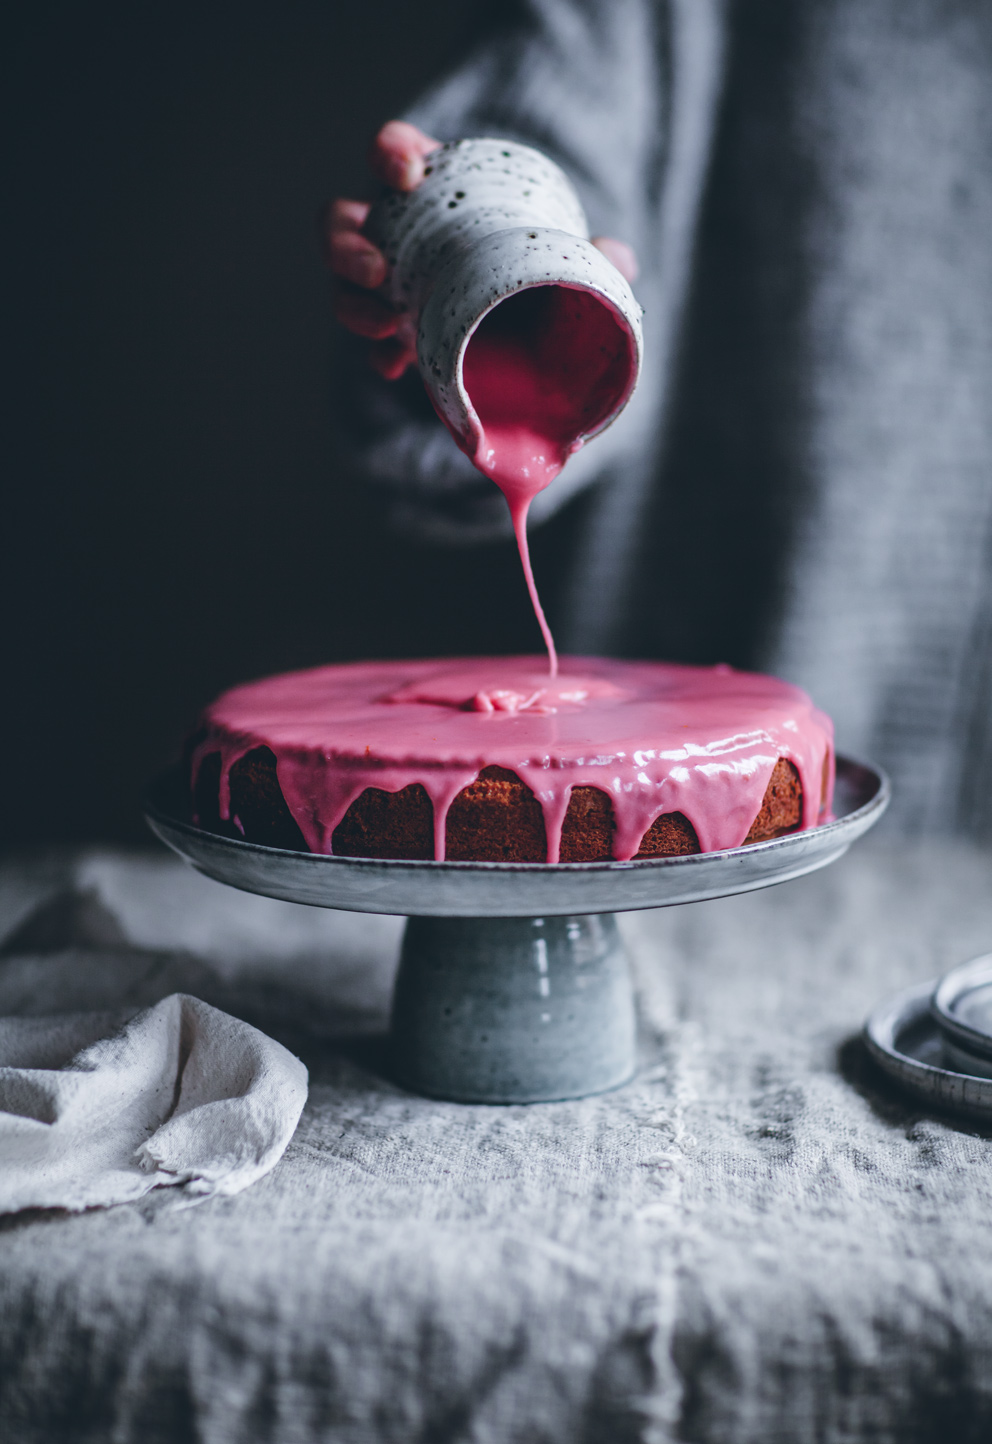
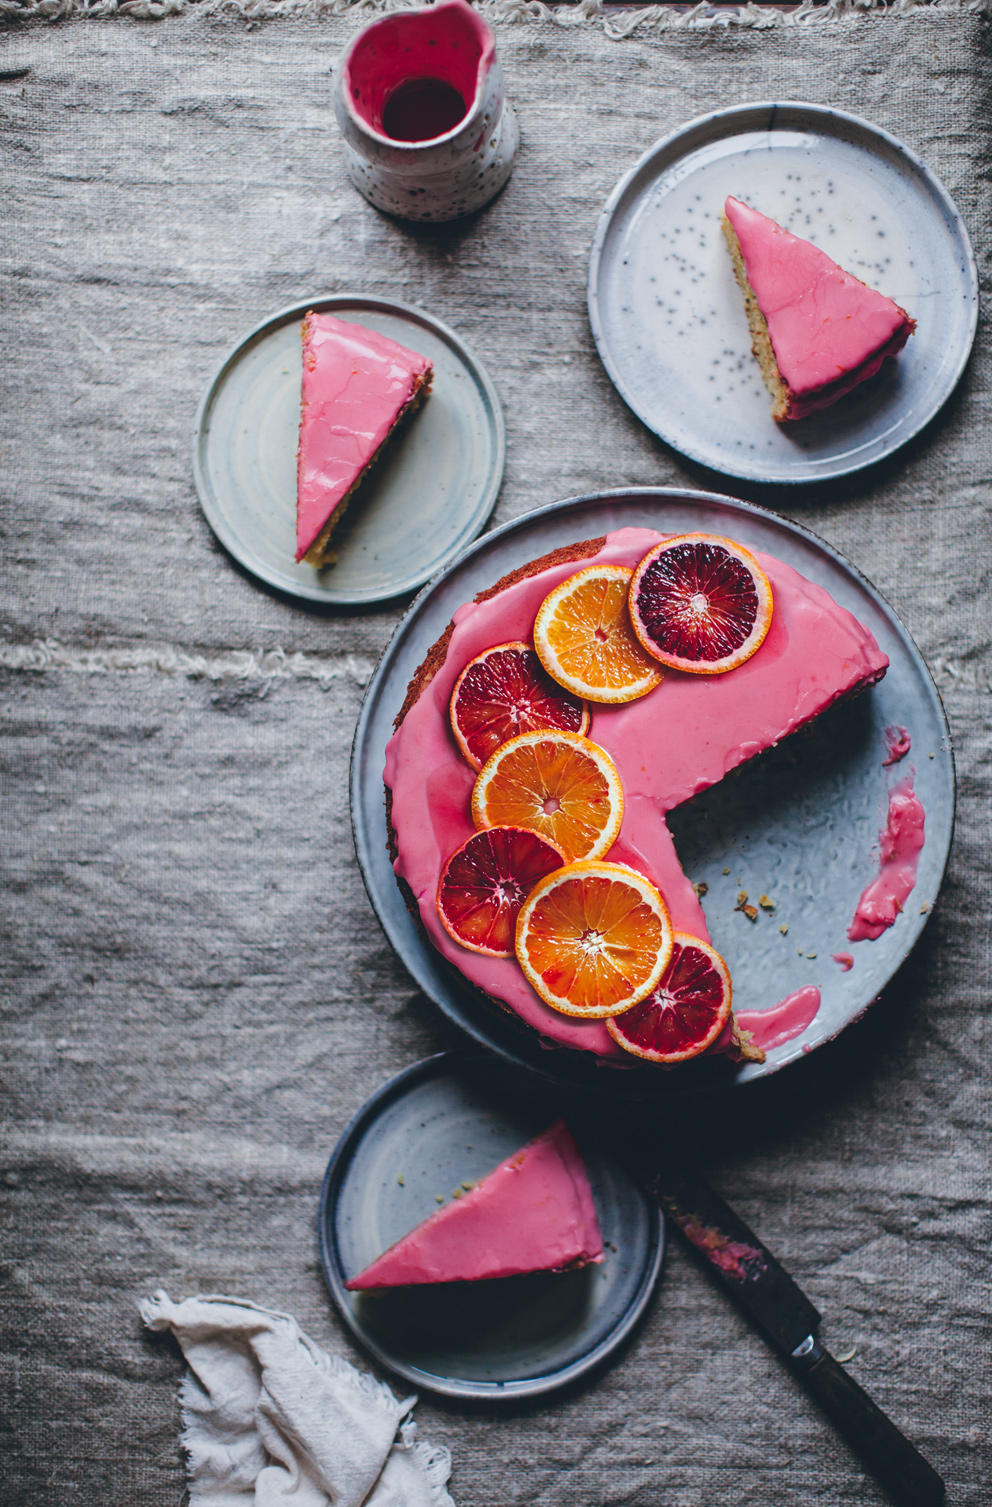
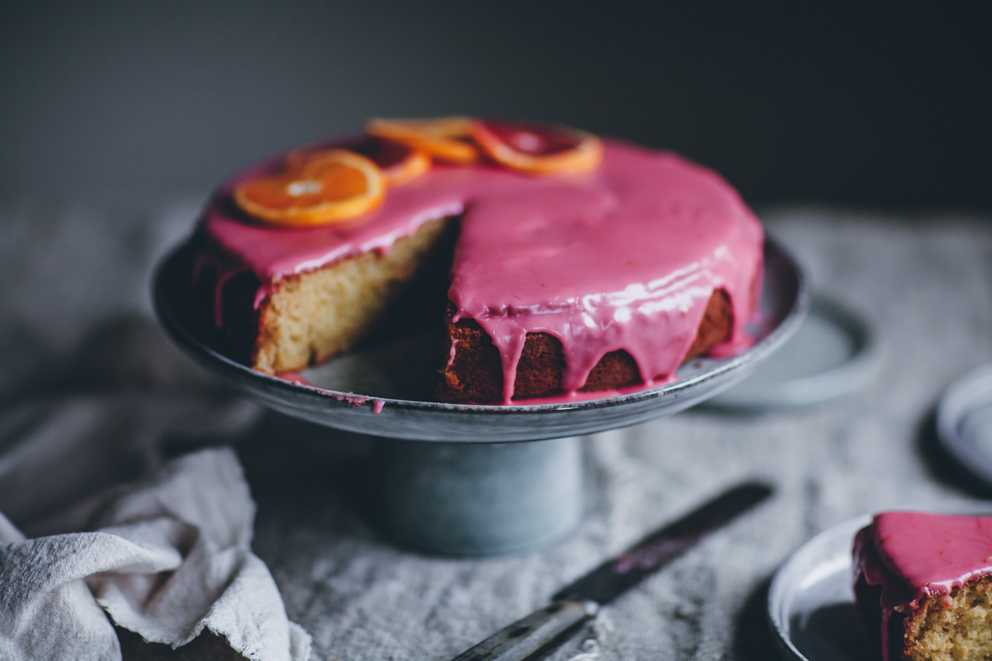
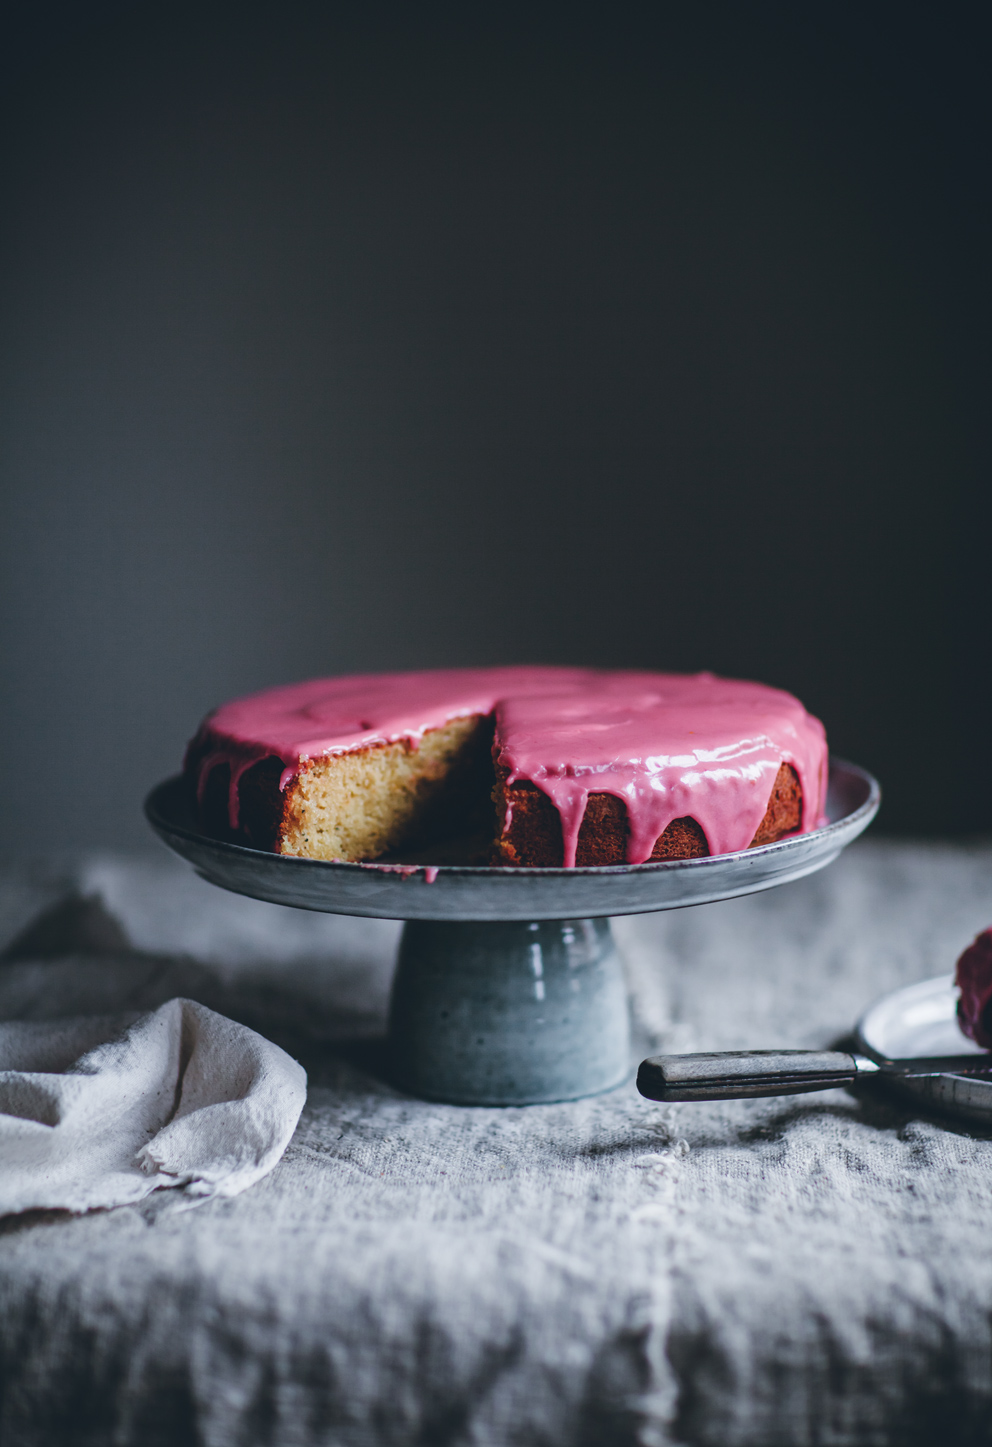
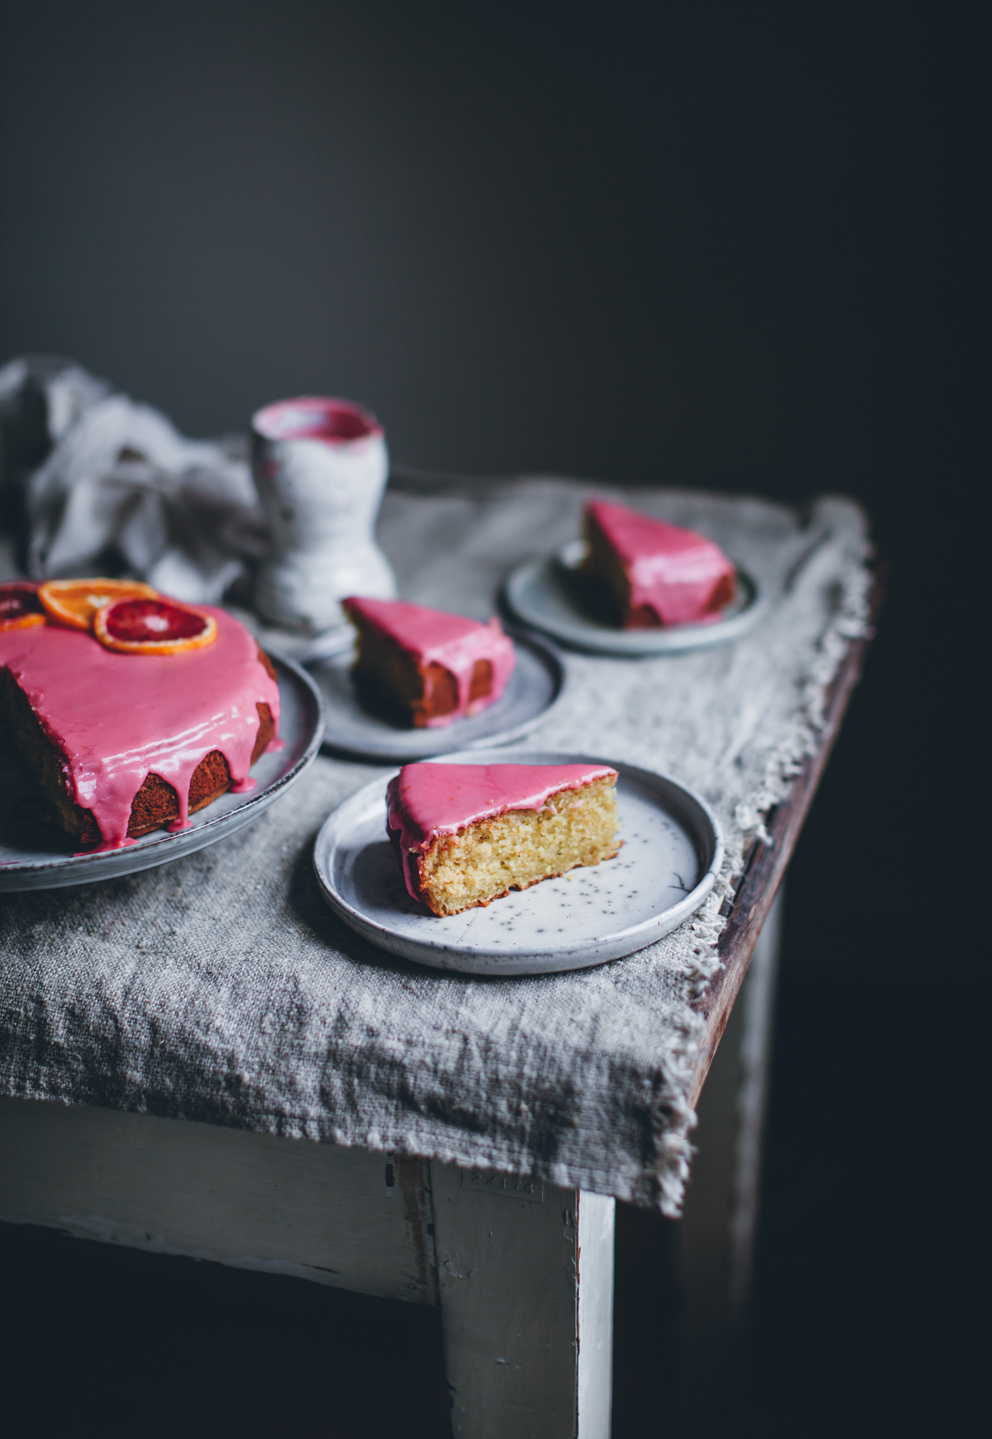
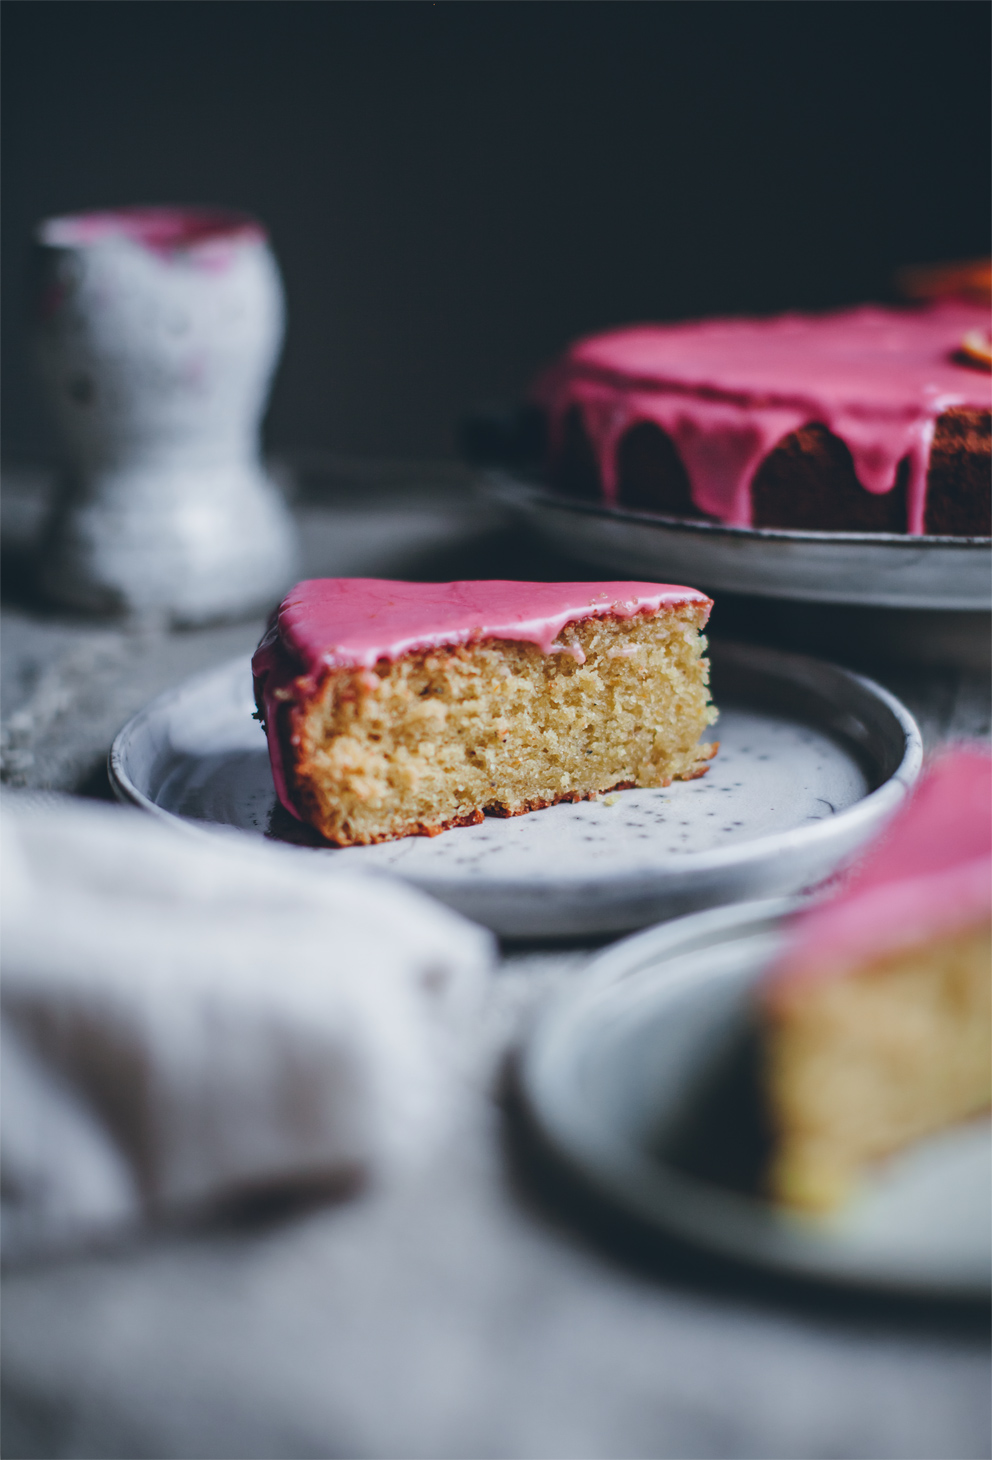
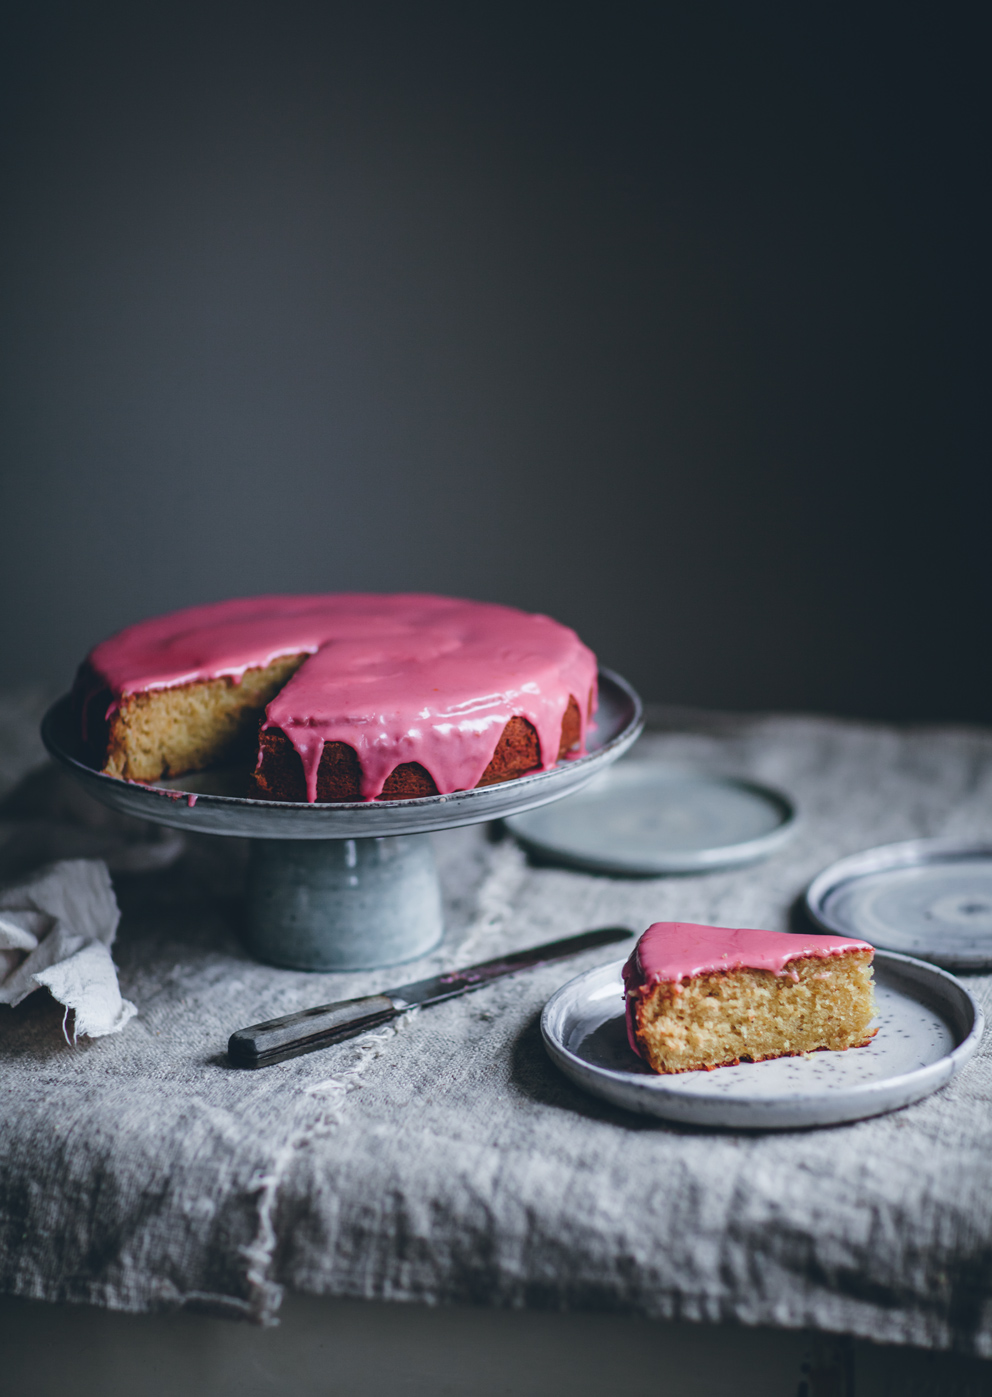
BLOOD ORANGE CARDAMOM CAKE
Makes one 9-inch cake, serves 8-10
As always, I encourage you to use kitchen scales to make sure the cake comes out just right. Make sure that all ingredients are at room temperature before you start baking, and use large eggs (the ones I used were around 70g each) for this recipe. The cake is delicious to eat without the glaze too, if you like it less sweet!
INGREDIENTS
CAKE
- 270 g (1 3/4 cups + 2 1/2 tbsp.) all purpose flour
- 1 1/2 tsp. baking powder
- 1/2 tsp. baking soda
- 3/4 tsp. freshly ground cardamom
- 1/4 tsp. flaky salt
- 175 g (1 1/2 stick) softened butter
- 270 g (1 1/4 cups) granulated sugar
- 1 tbsp. blood orange zest (from approx. 2 oranges)
- 3 large eggs
- 200 ml (3/4 cup + 1 1/2 tbsp.) yogurt (2-3 % fat), at room temp.
- 50 ml (3 1/2 tbsp) fresh blood orange juice (of approx. 1 orange)
GLAZE
- 240 g (1 2/3 cup) powdered sugar
- 4 tbsp. (60 ml) fresh blood orange juice
- 1 tsp. blood orange zest
- pinch of salt
INSTRUCTIONS
CAKE
- Preheat oven to 175°C (350°F). Grease a 9-inch (23-24 cm) baking pan (mine is 9.2 inches, and I used a springform pan) and cover the bottom with a round piece of baking paper.
- In a medium bowl, combine flour, baking powder, baking soda, cardamom and salt. Set aside.
- Beat the butter and sugar until light and creamy, about 2-3 minutes. Beat in the orange zest. Add the eggs, one at a time, beating and scraping down the sides of the bowl after each addition. The batter might curdle at this point but adding the flour mixture should fix that.
- Add the flour mixture, blood orange juice and yogurt in additions to the butter mixture, beginning and ending with the flour. Stir until batter is smooth.
- Pour the batter into the prepared baking pan, smoothing the top with a spatula. Bake in the lower part of the oven for 45-55 minutes (start checking around 35 minutes, cover the top with foil if cake is getting too browned) or until a cake tester comes out clean. Let the cake cool in the pan for 10 minutes, then invert onto a cooling rack to cool completely.
GLAZE
- Combine powdered sugar, juice, zest and salt in a small bowl. Drizzle the glaze over the cake and decorate with fresh blood orange slices if desired.
Your pictures are always beautiful! Cake looks and sounds gorgeous. Xx
Thank you so much Kelly-Jane! xx
Absolutely beautiful photos & I really really enjoyed the before/after and behind the scenes in your newsletter. Very inspiring and the tips are going to help me with my own photography 🙂 Thank you for sharing those things! I love to see behind the scenes and am always eager for tips you have to share 🙂 <3
Thank you so much Emily, I’m so very glad you enjoyed the newsletter and found it helpful! I’ll be sure to share more things like that in the future! <3
Thank you, Linda, for sharing these behind the scenes! I enjoyed reading your reasons why, although I still like the first images! But I can see the improvements for sure! I’m glad to see, that we all have the same struggles with our perfectionism 😀
Happy spring-beginnings! 😉
Thanks so much Nadja! I’m so glad you enjoyed it 🙂 The first image isn’t all that bad, the cake was the biggest problem there, haha! I think when you see it next to the other one it looks worse than it is. Definitely struggle with perfectionism, I think it’s so common. Have a great weekend! 🙂