Skip to primary navigation
Skip to main content
Skip to primary sidebar
Home
Recipes
Recipe Index
Category
Swedish
Cakes
Travel & workshops
Cupcakes & muffins
Pies, tarts, crumbles
Buns & bread
Christmas
How To’s
How to fill and cover a cake with frosting
How to pipe a rose cupcake
How to make a lattice pie crust
Season
Winter
Spring
Summer
Autumn
Ingredients I use
About
About Linda
FAQ
My books
Privacy Policy
Photography presets
Contact
Search
Call Me Cupcake
Sweet food & photography
Cakes
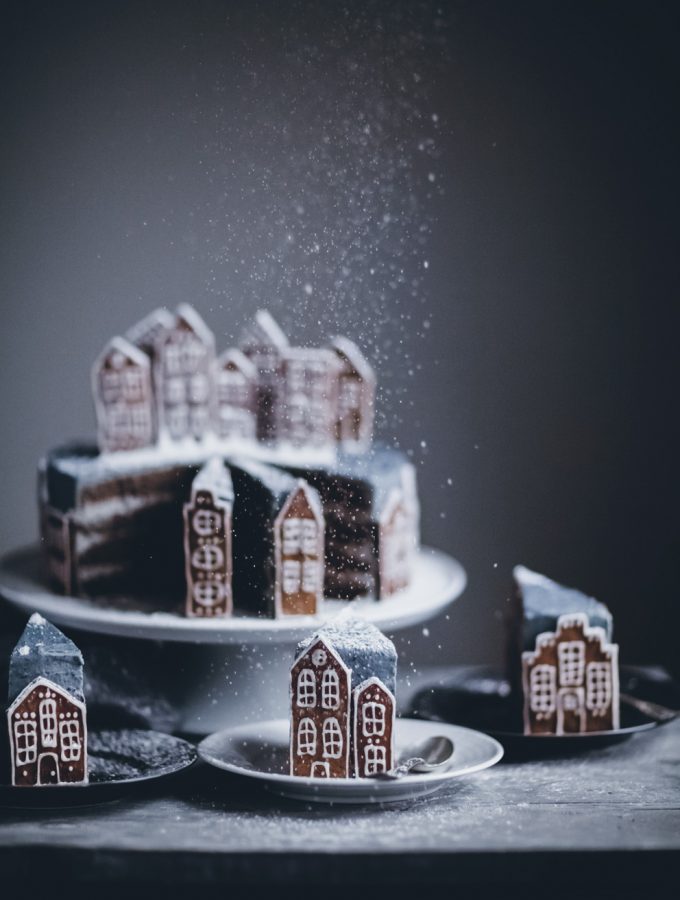
Gingerbread Village Cake
Spiced Pear Cake
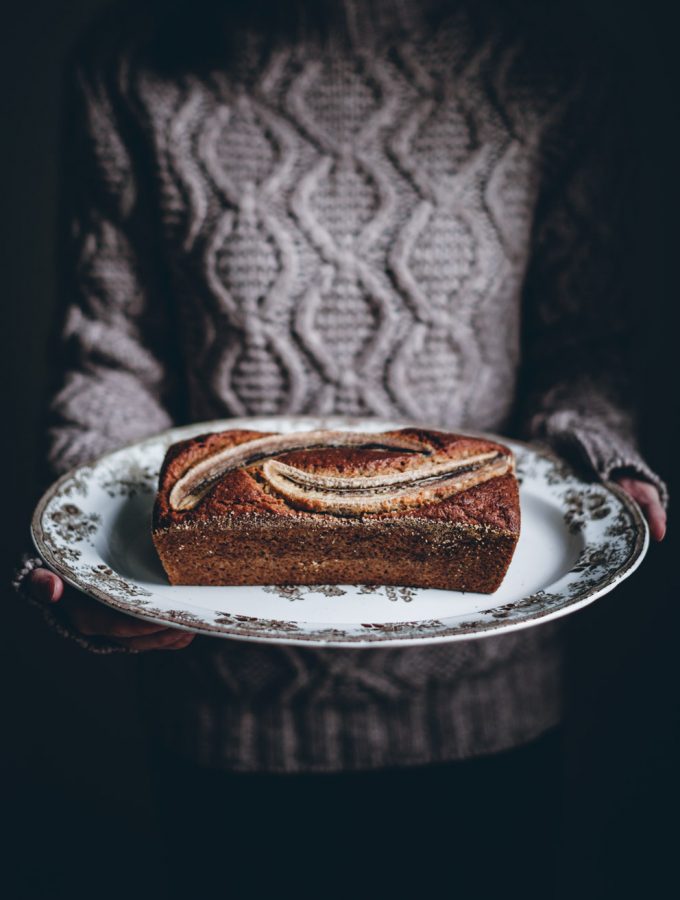
Banana bread with brown butter chocolate spread
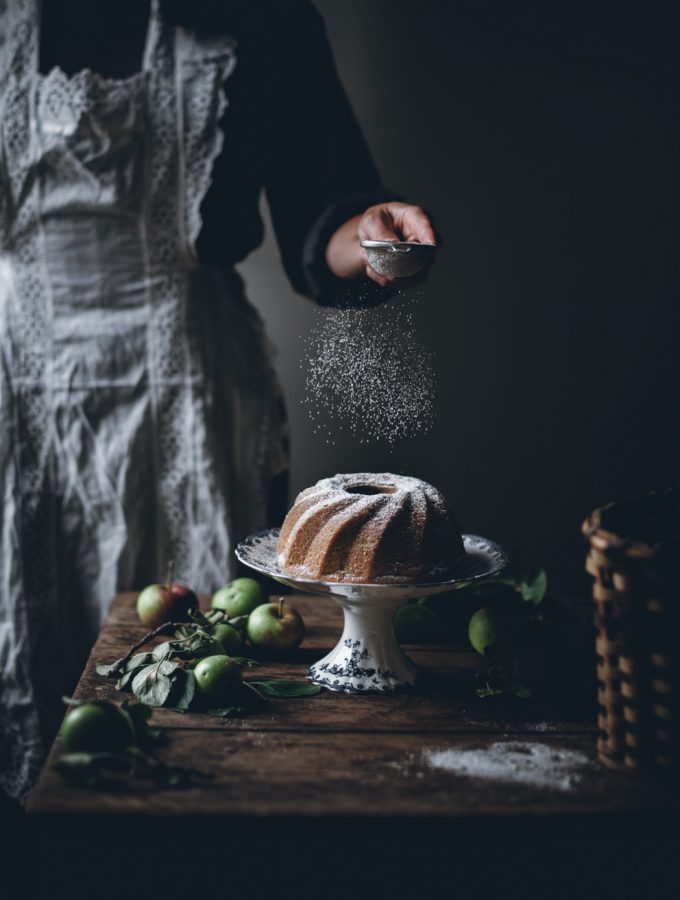
Apple cinnamon bundt cake
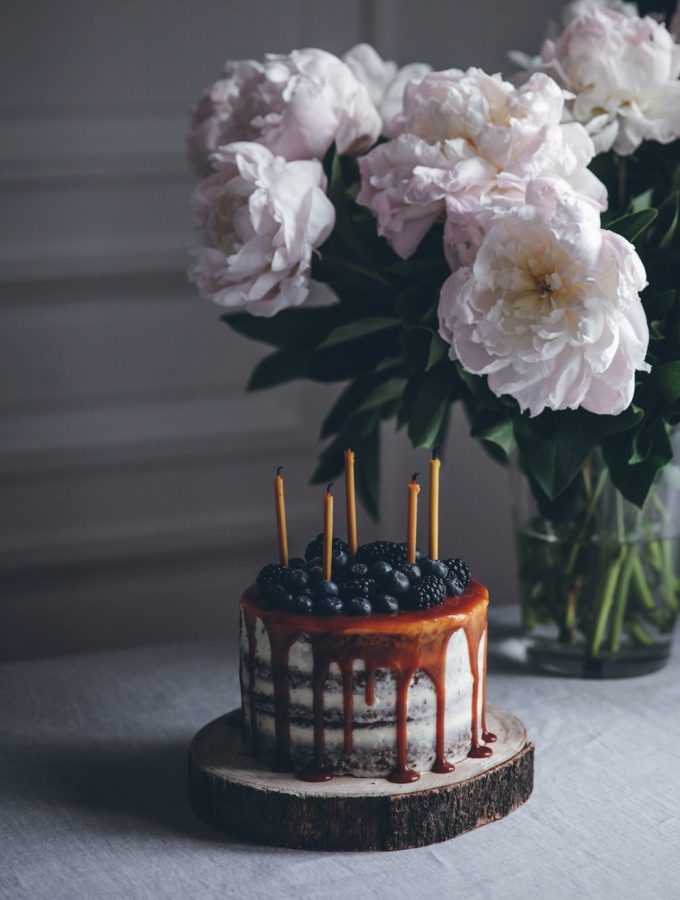
Carrot cake with lime cream cheese frosting & salted caramel sauce
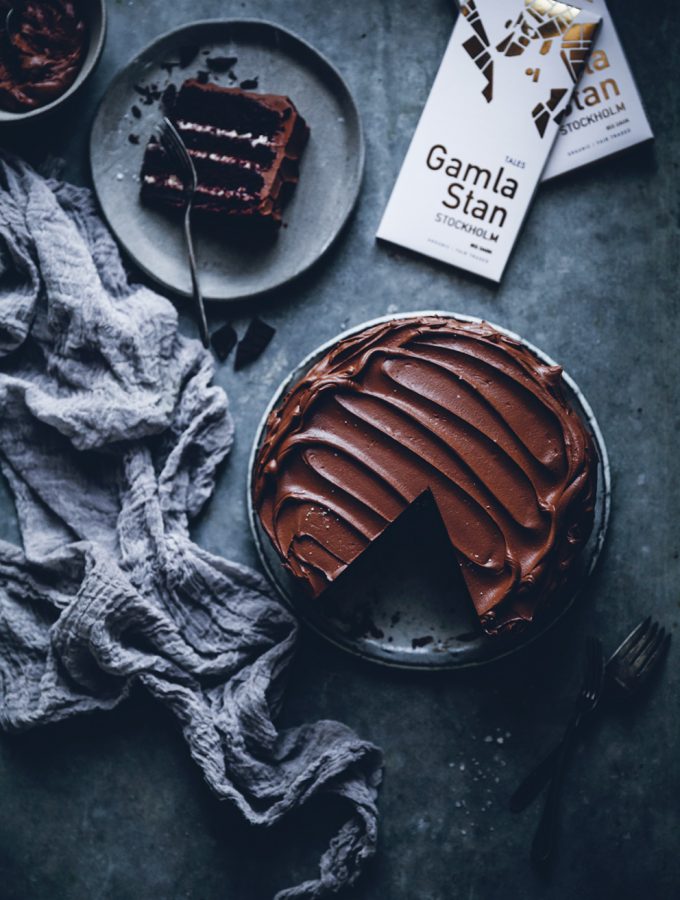
Chocolate cake with chocolate chip mascarpone filling and chocolate fudge frosting
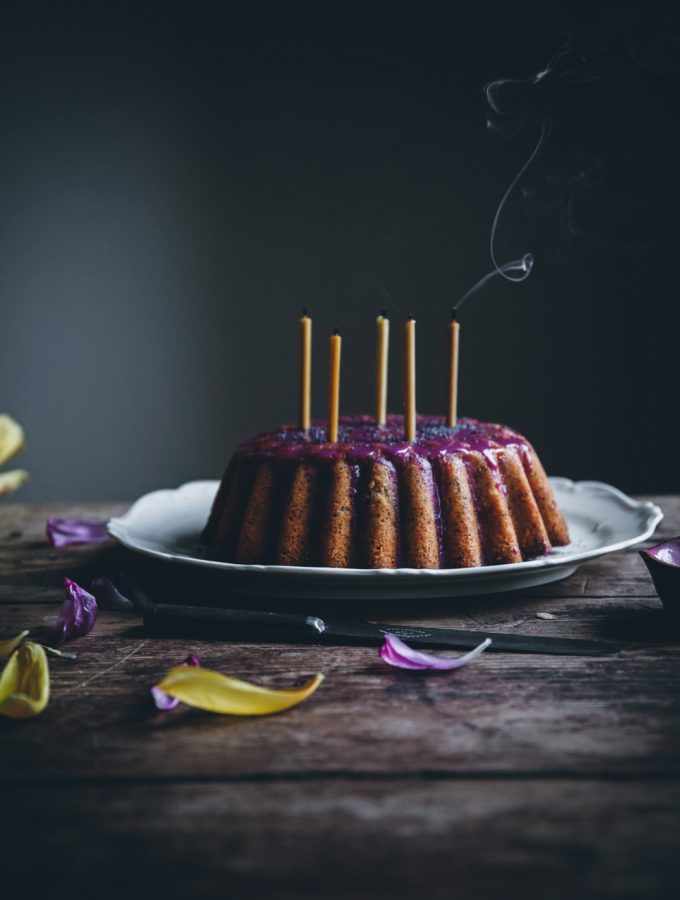
Lemon poppy seed bundt cake with a lemon syrup & blueberry glaze
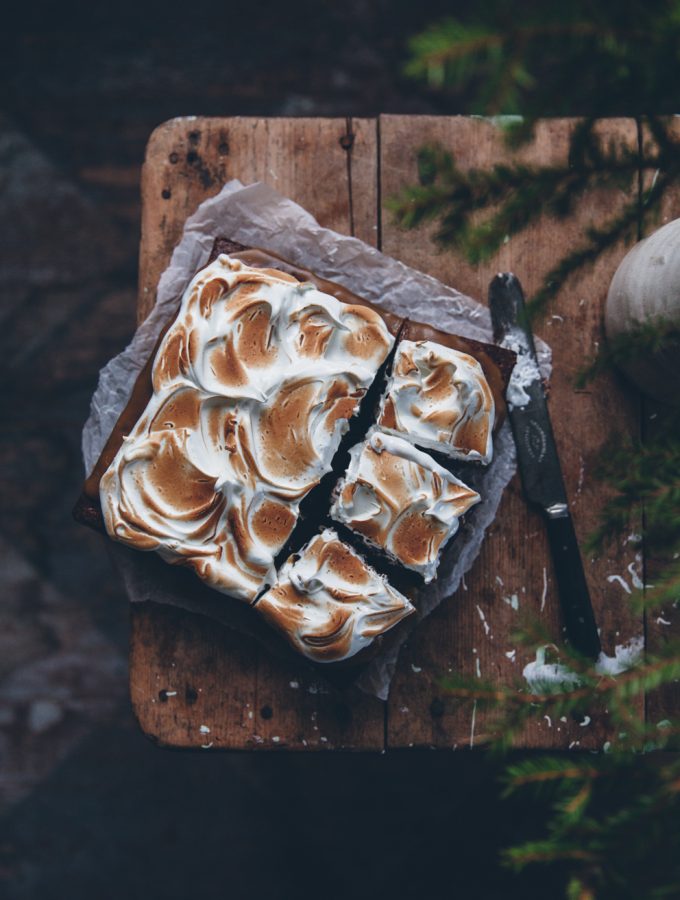
A trip to Norway + Brownies with salted caramel and toasted meringue and a gingerbread bundt cake
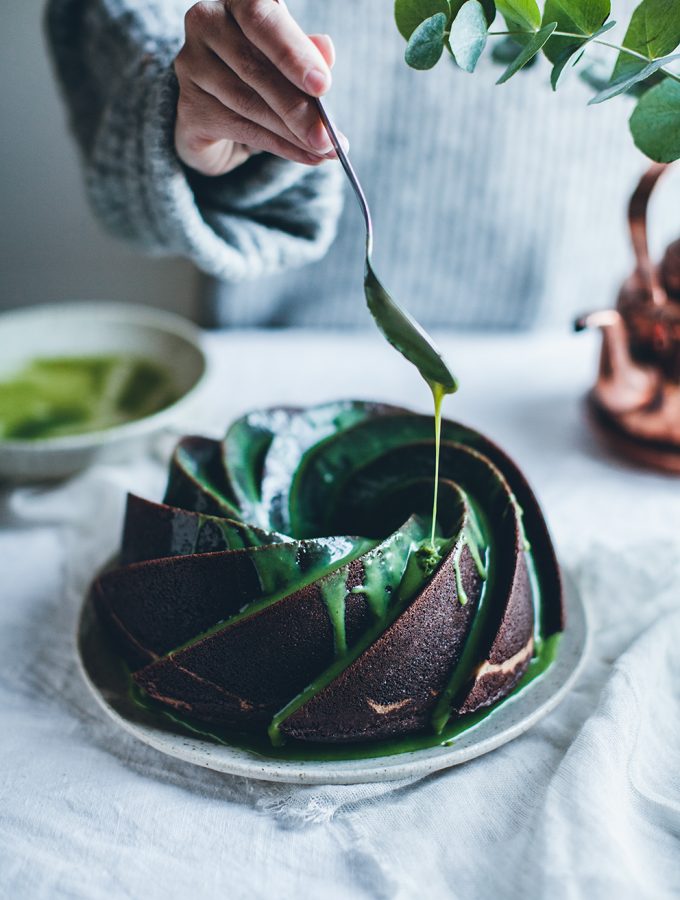
Cheesecake filled chocolate bundt cake with white chocolate matcha glaze
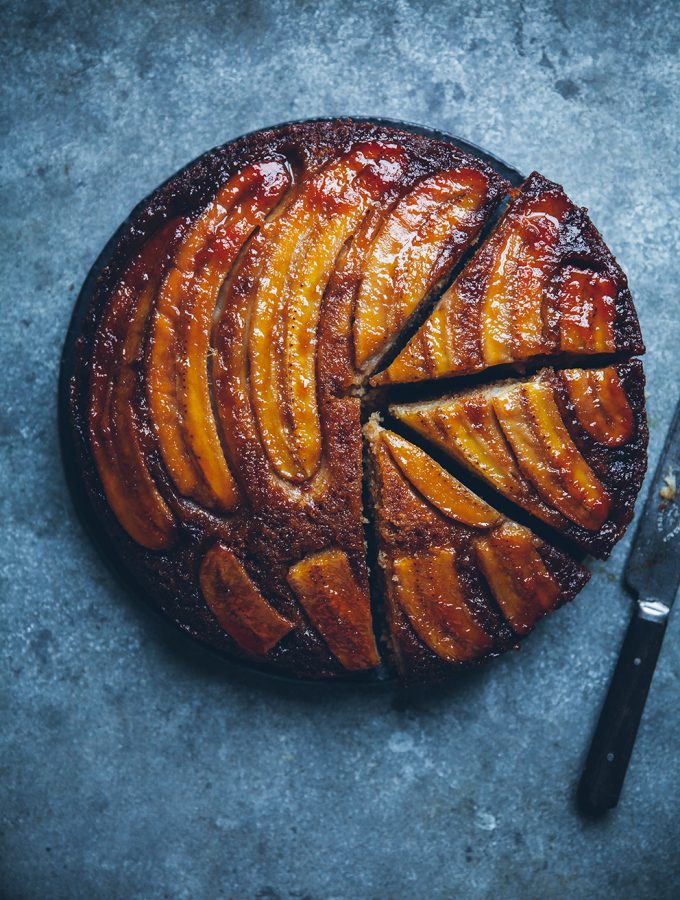
Caramelized banana upside-down cake
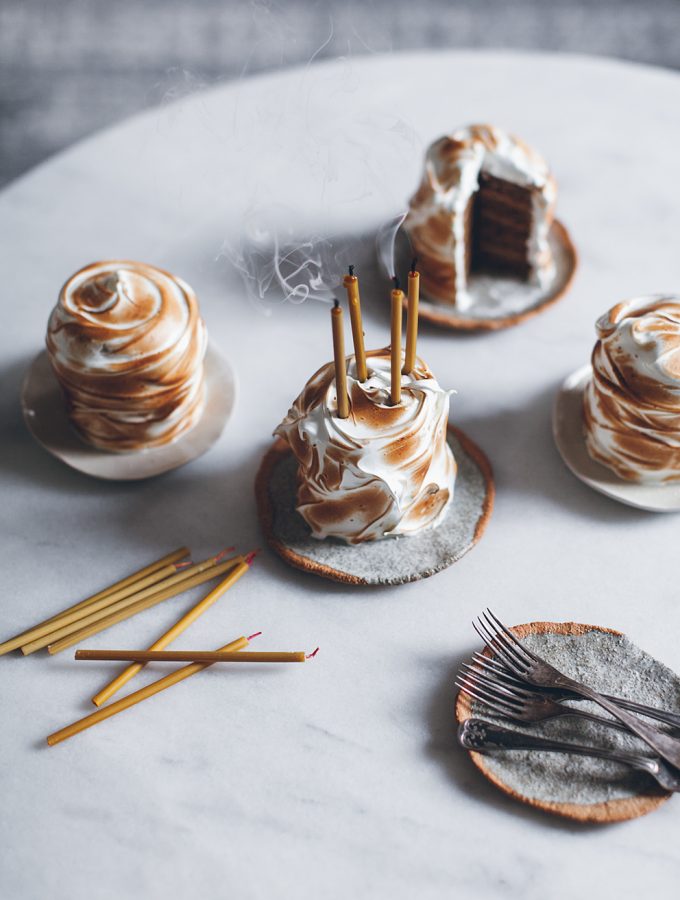
Mini pumpkin cakes with caramel pastry cream and toasted lemon meringue frosting
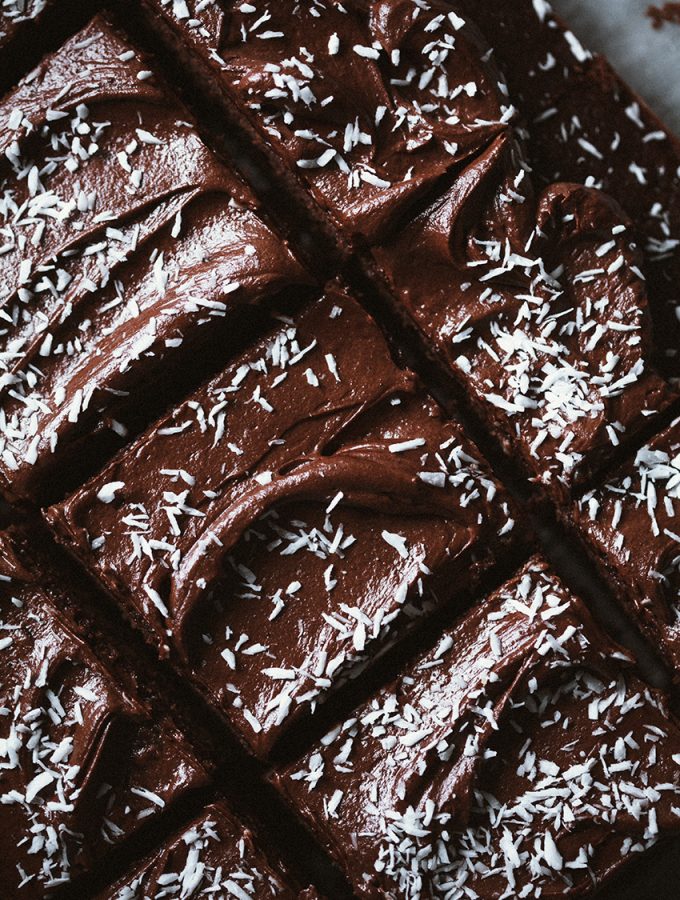
Mocha squares
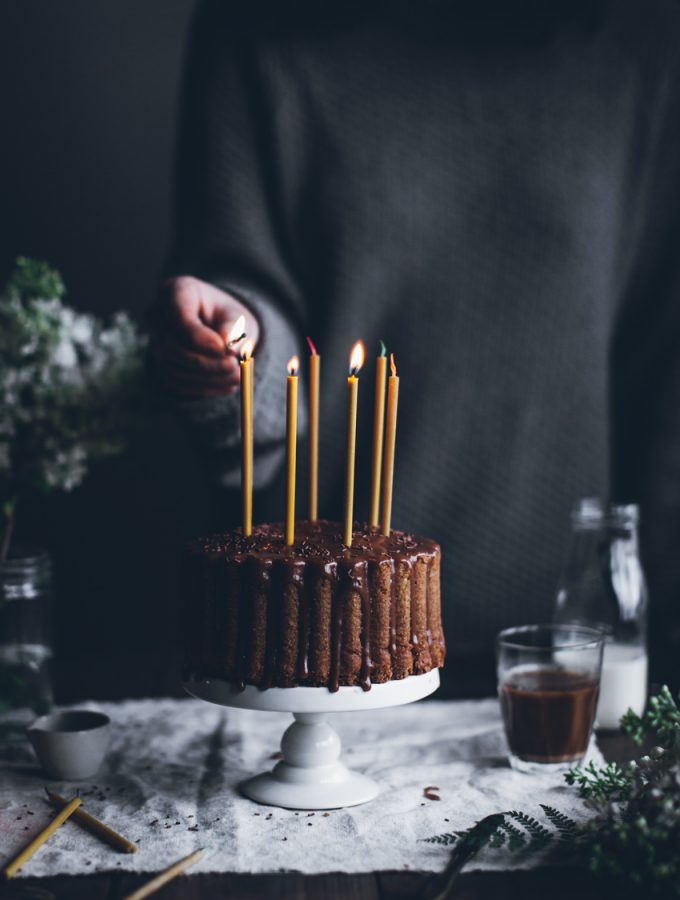
Coconut coffee cake with caramel glaze
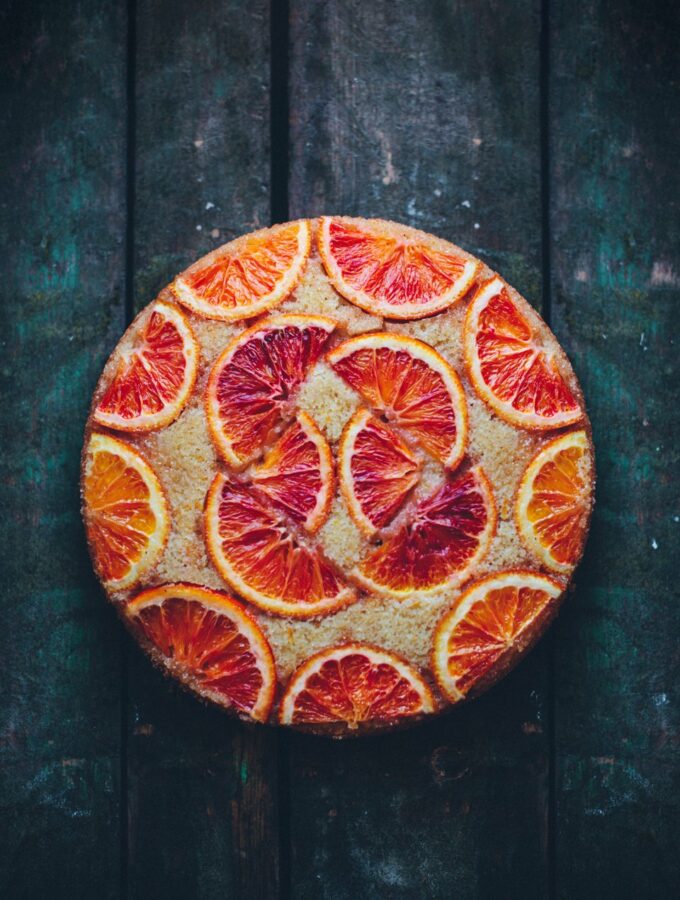
Blood orange upside down cake
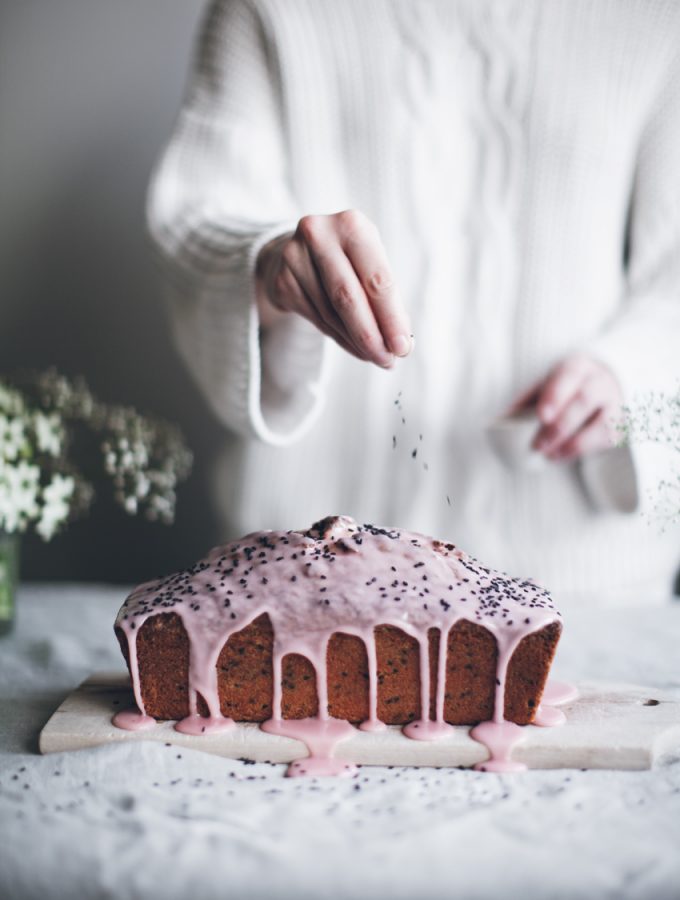
Blood orange & black sesame loaf cake
«
Go to
Previous Page
Go to page
1
Go to page
2
Go to page
3
Go to page
4
Interim pages omitted
…
Go to page
6
Go to
Next Page »
Privacy Policy