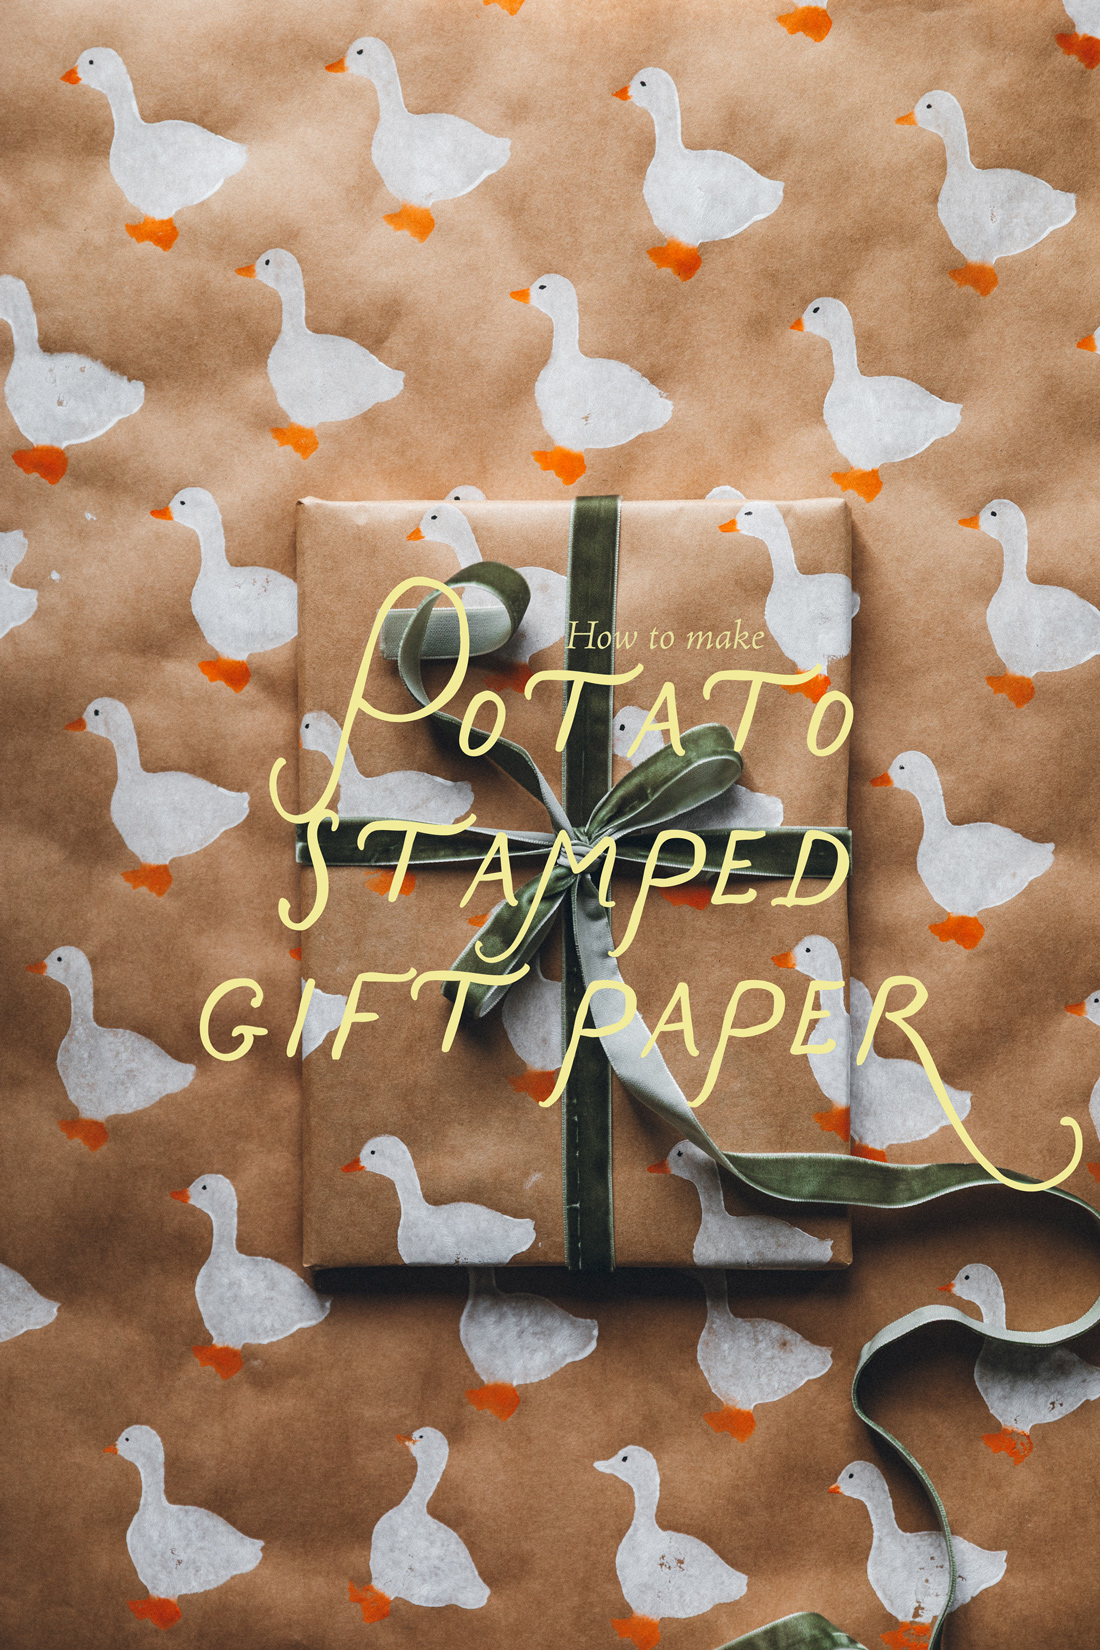
I started thinking about this idea of using a cookie cutter to cut out potato stamps last Christmas but never got around to trying it then, so it was first on my list for this year. I have to say, it was easier than I thought and turned out way better than expected! It took a few tries to get the right amount of paint and right amount of pressure for each stamp, but after a few tries it was starting to look good. Scroll down to see video instructions for both using a cookie cutter and cutting out a shape with a knife!
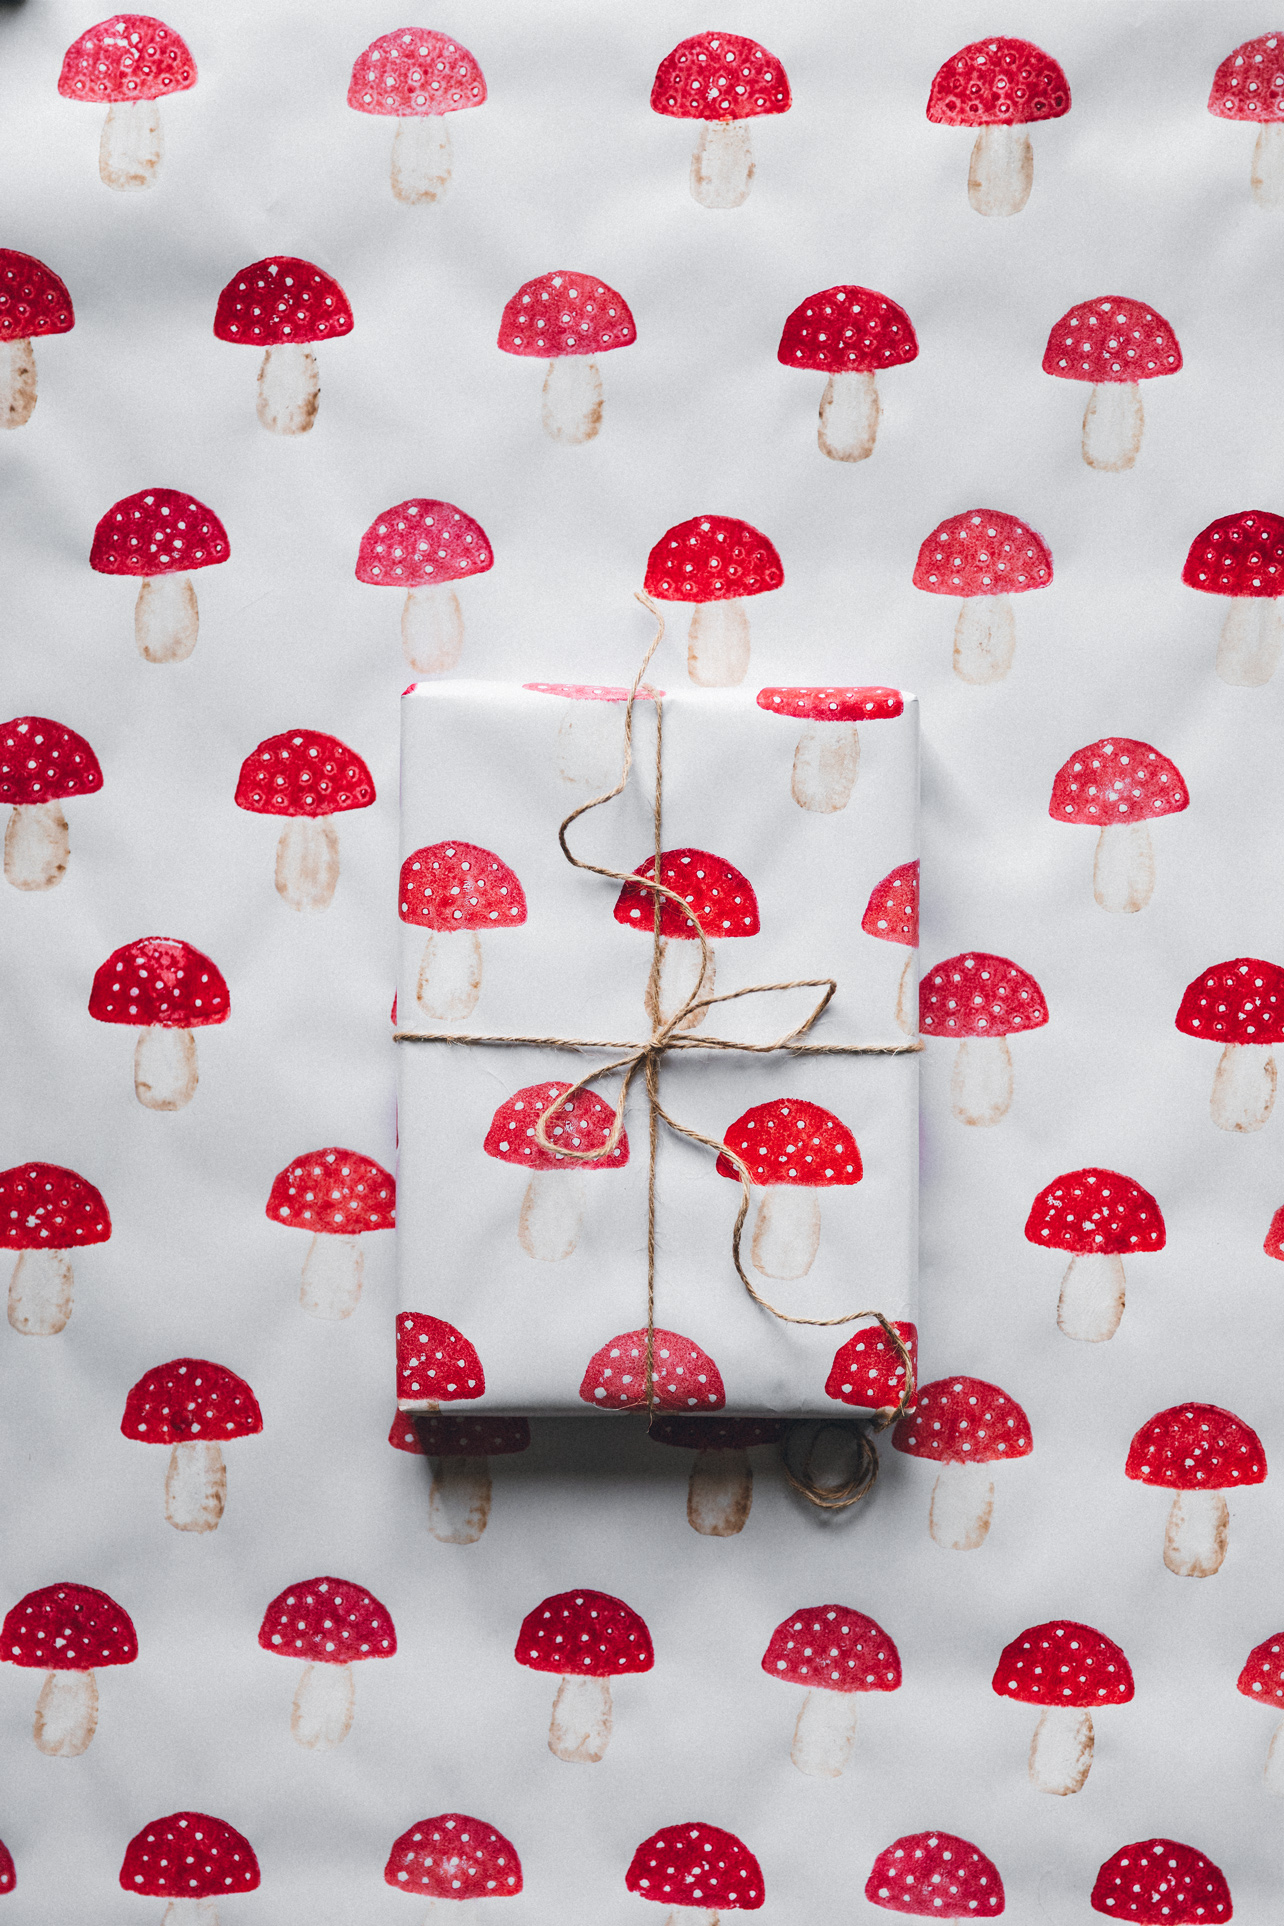
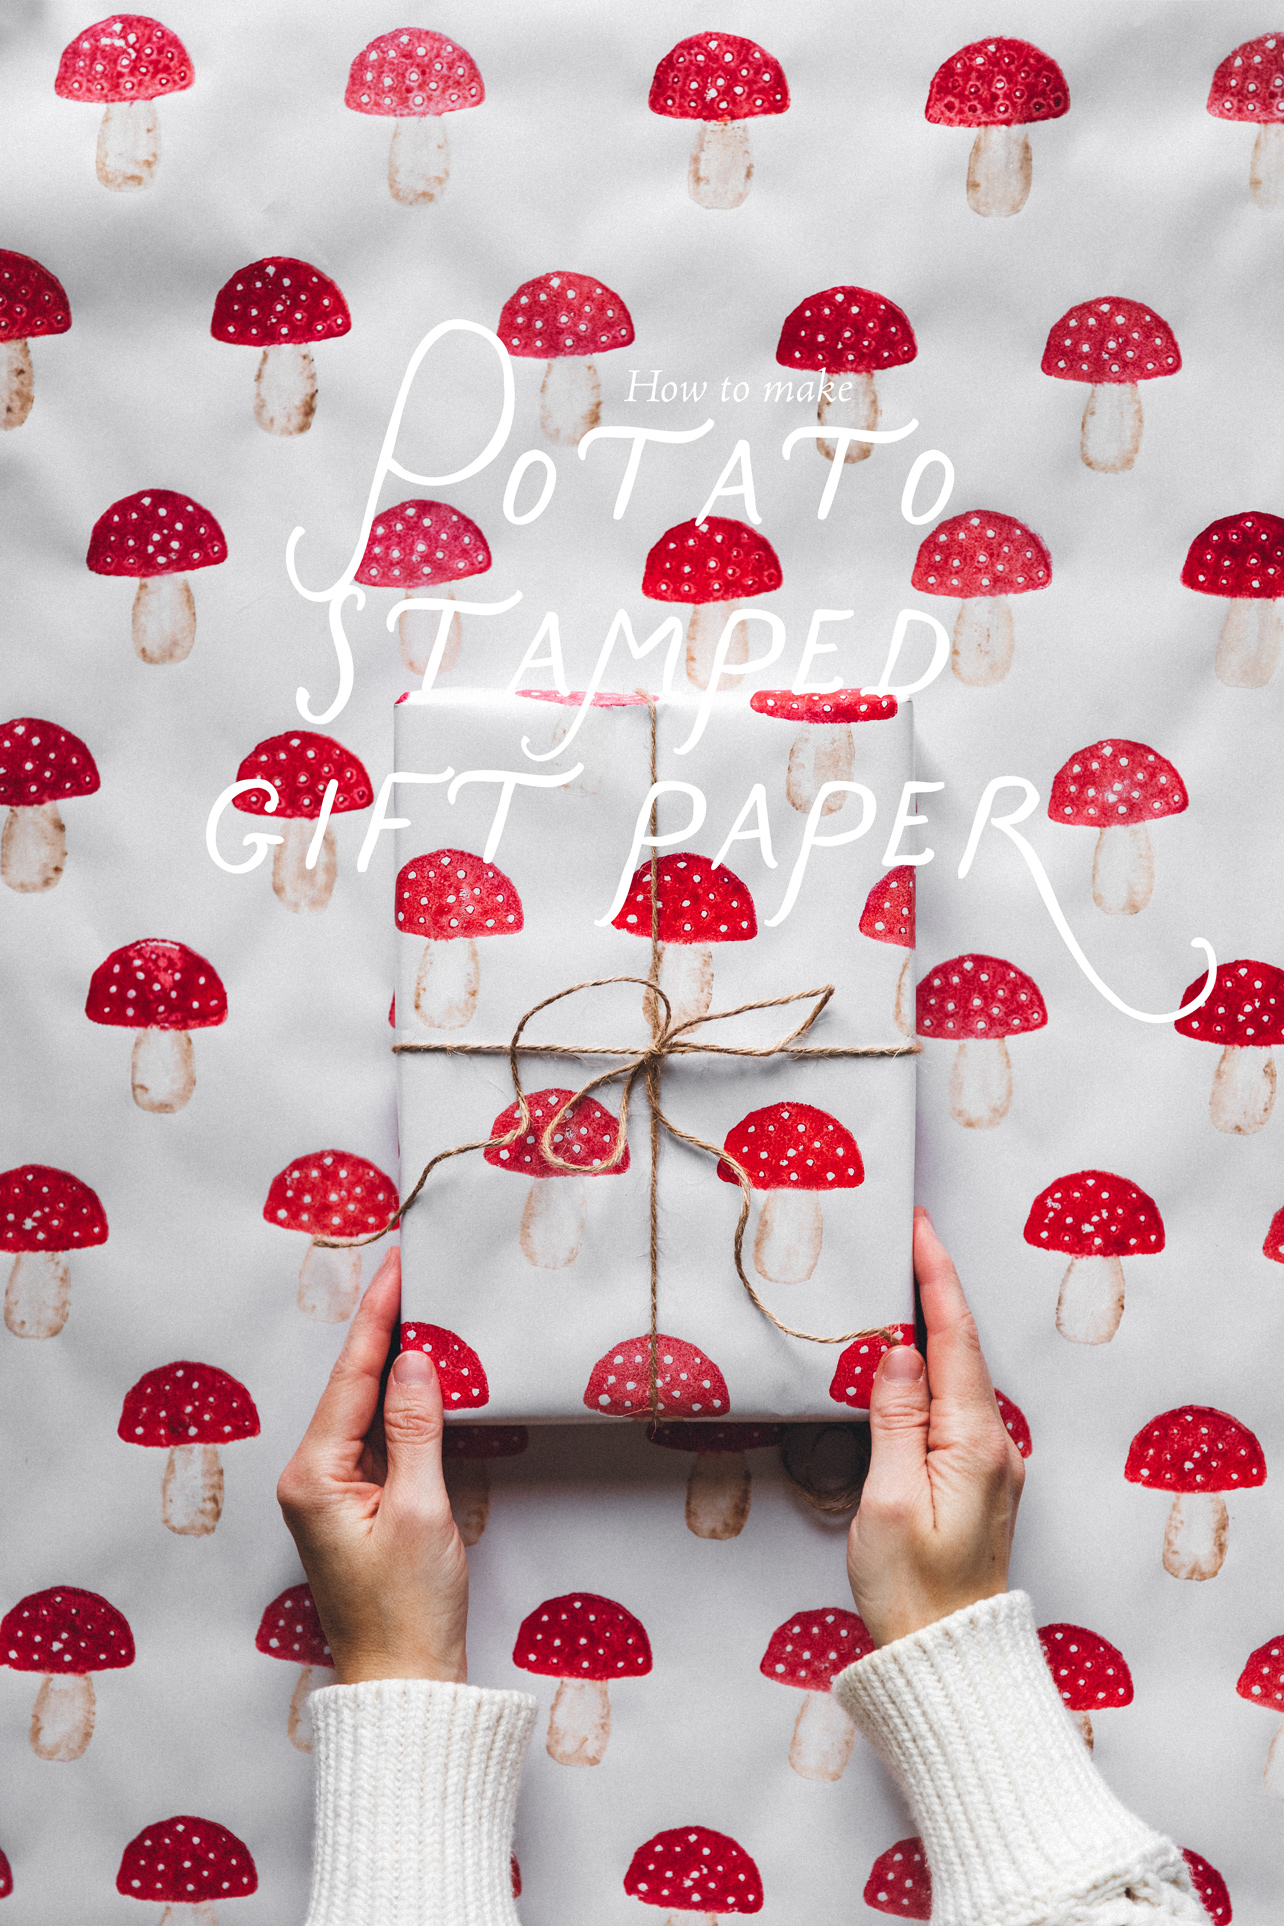
How to make potato stamped gift paper
Ingredients
- A potato
- A small knife and/or a metal cookie cutter
- A skewer/piping tip to make holes
- Acrylic paint or a stamp pad
- Paintbrushes or a sponge, cut into smaller pieces
- Paper towels
- Gift wrapping paper, preferably matte paper
Instructions
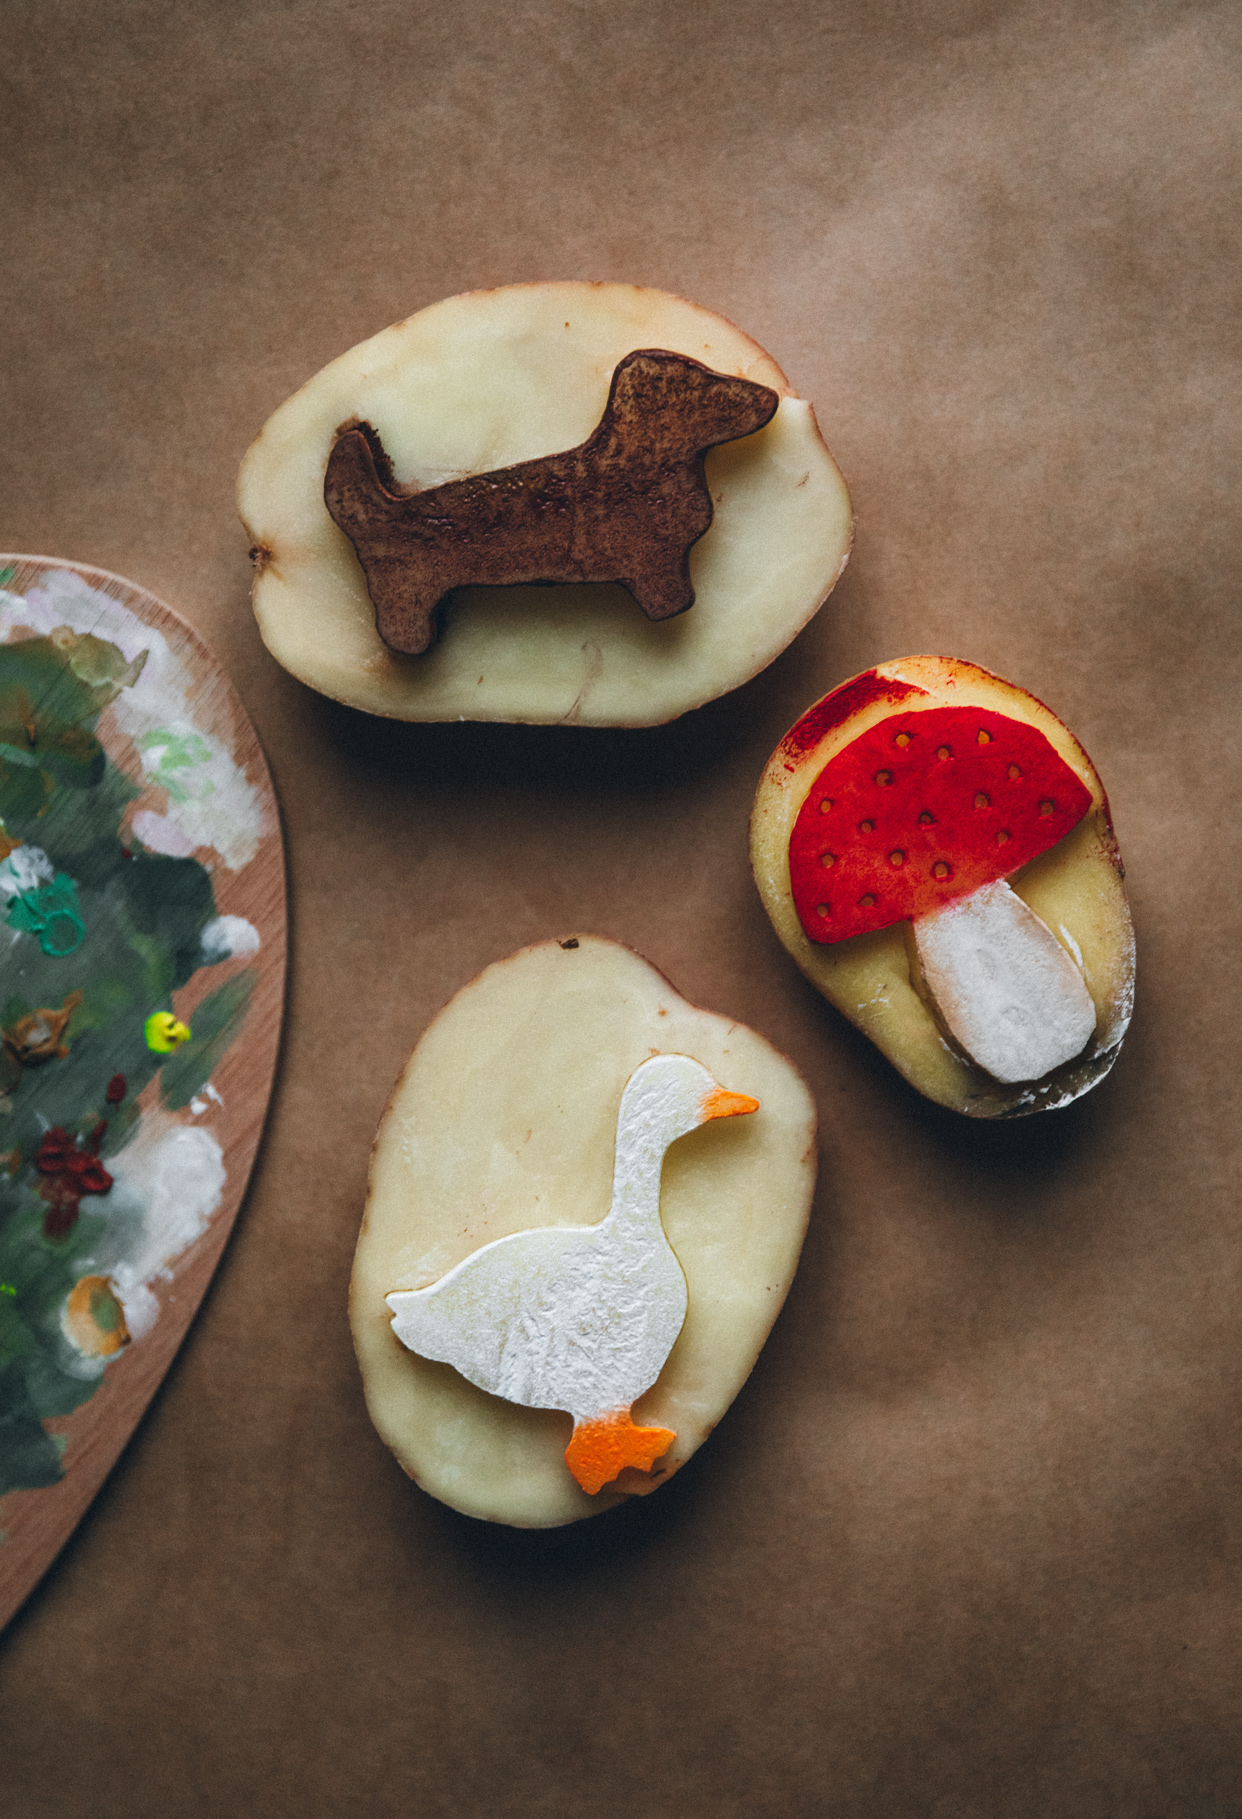
- Cut the potato in half to create a flat surface. Cut it lengthwise for a longer shape or across the middle for a round shape.
- Press the center of the cut potato firmly onto a cookie cutter. Use a knife to slice horizontally into the side of the potato just under the surface, meeting the edge of the cookie cutter to remove the excess. Remove the cookie cutter from the potato and use a knife to tidy up your stamp.Or, if you want to make a custom stamp like the mushroom, use a small knife to cut the potato into a mushroom shape. Slice horizontally into the side of the potato just under the surface, meeting the edge of the cut, leaving the cut out design raised by about 0,5 cm. Use a skewer or a piping tip to make holes in the top part of the mushroom.
- Pat the potato surface dry with a paper towel so the paint sticks properly. Use a paintbrush or sponge to apply an even layer of paint to the raised part of the potato. Use different brushes/sponges for different colors. For the duck I used one for white (for the body) and one for orange (for the feet and beak) and for the mushroom, one for white/brown (the stem) and one for red (the top).
- Press the stamp firmly and evenly onto the paper, then lift it straight up. I found that I could do two or three stamps with each layer of paint.
- Leave to dry for a little while, then add any details to the stamped paper with a paintbrush – for the ducks I added eyes, the dachshunds I added eyes, a smile and a red collar.
Notes
-Matte paper works best, but I have tried semi glossy with acrylic paint and it works well!
-The stamps last for 2-3 days well wrapped in the fridge – wipe off the paint and wrap in plastic wrap before storing in a container away from any food.







Leave a Reply